Create your first flow
In this tutorial you build a complete flow without any hardware: a Simulation connector generates machine values, a Data Mapper turns them into a unified namespace (UNS) payload, and an MQTT connector publishes that payload to the broker built into Reniway Edge.
Simulation → Data Mapper → MQTT (built-in broker)
The interface in short
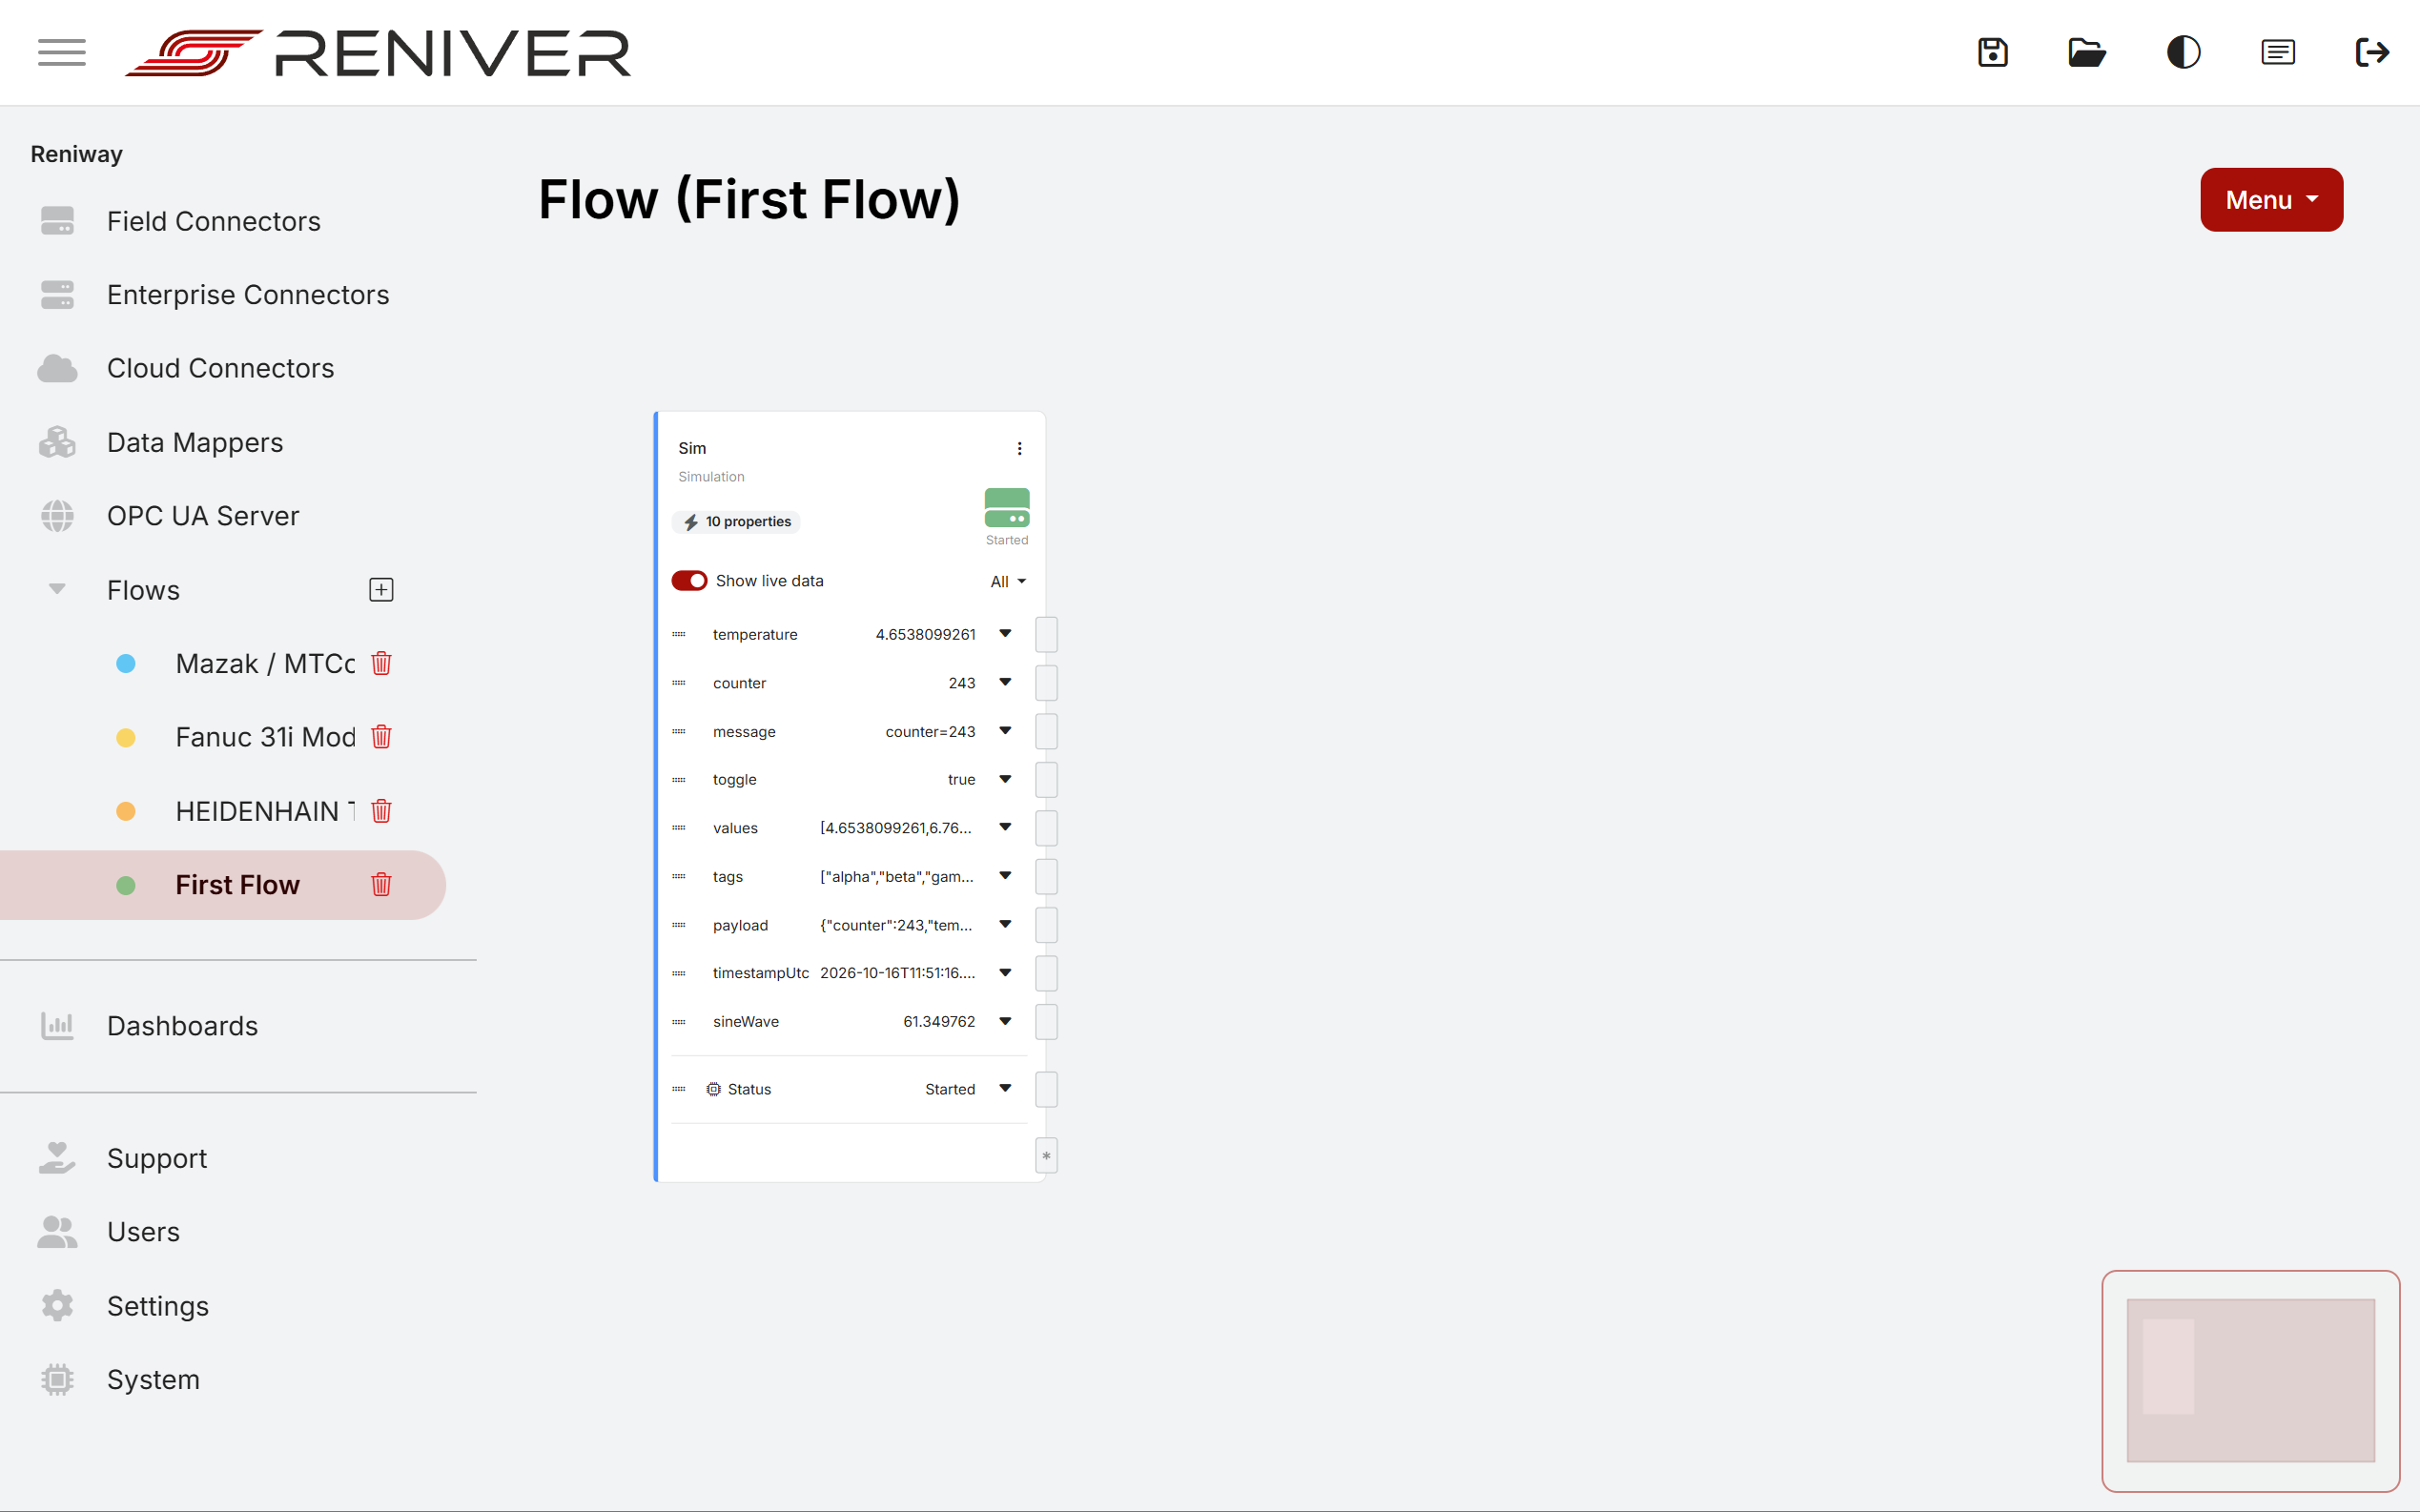
- Left menu: lists every connector and data mapper, and your Flows. Use + next to Flows to create a new flow.
- Canvas: the selected flow. Each block is a component; each row in a block is a property.
- Menu (top right of the canvas, or right-click the canvas): adds components to the flow.
- Header icons: save and restore the project, switch light/dark theme, open the logs, and log out.
Base concepts
| Concept | Meaning |
|---|---|
| Field connector (blue) | Reads data from a machine, PLC or sensor. |
| Data Mapper | Transforms and combines properties with a short JavaScript function. |
| Enterprise connector (red) | Sends data to a database, broker or business system. |
| Property | A single value, such as a temperature or counter. |
| Socket | The small square on the side of a property. Drag from an output socket (right) to an input socket (left) to connect values. The * socket at the bottom of a block creates a new property from the connection. |
| Unified namespace | One consistent topic structure for all plant data, e.g. enterprise/site/area/line/cell/value, so consumers don't need to know which machine or protocol a value came from. |
1. Add a simulator
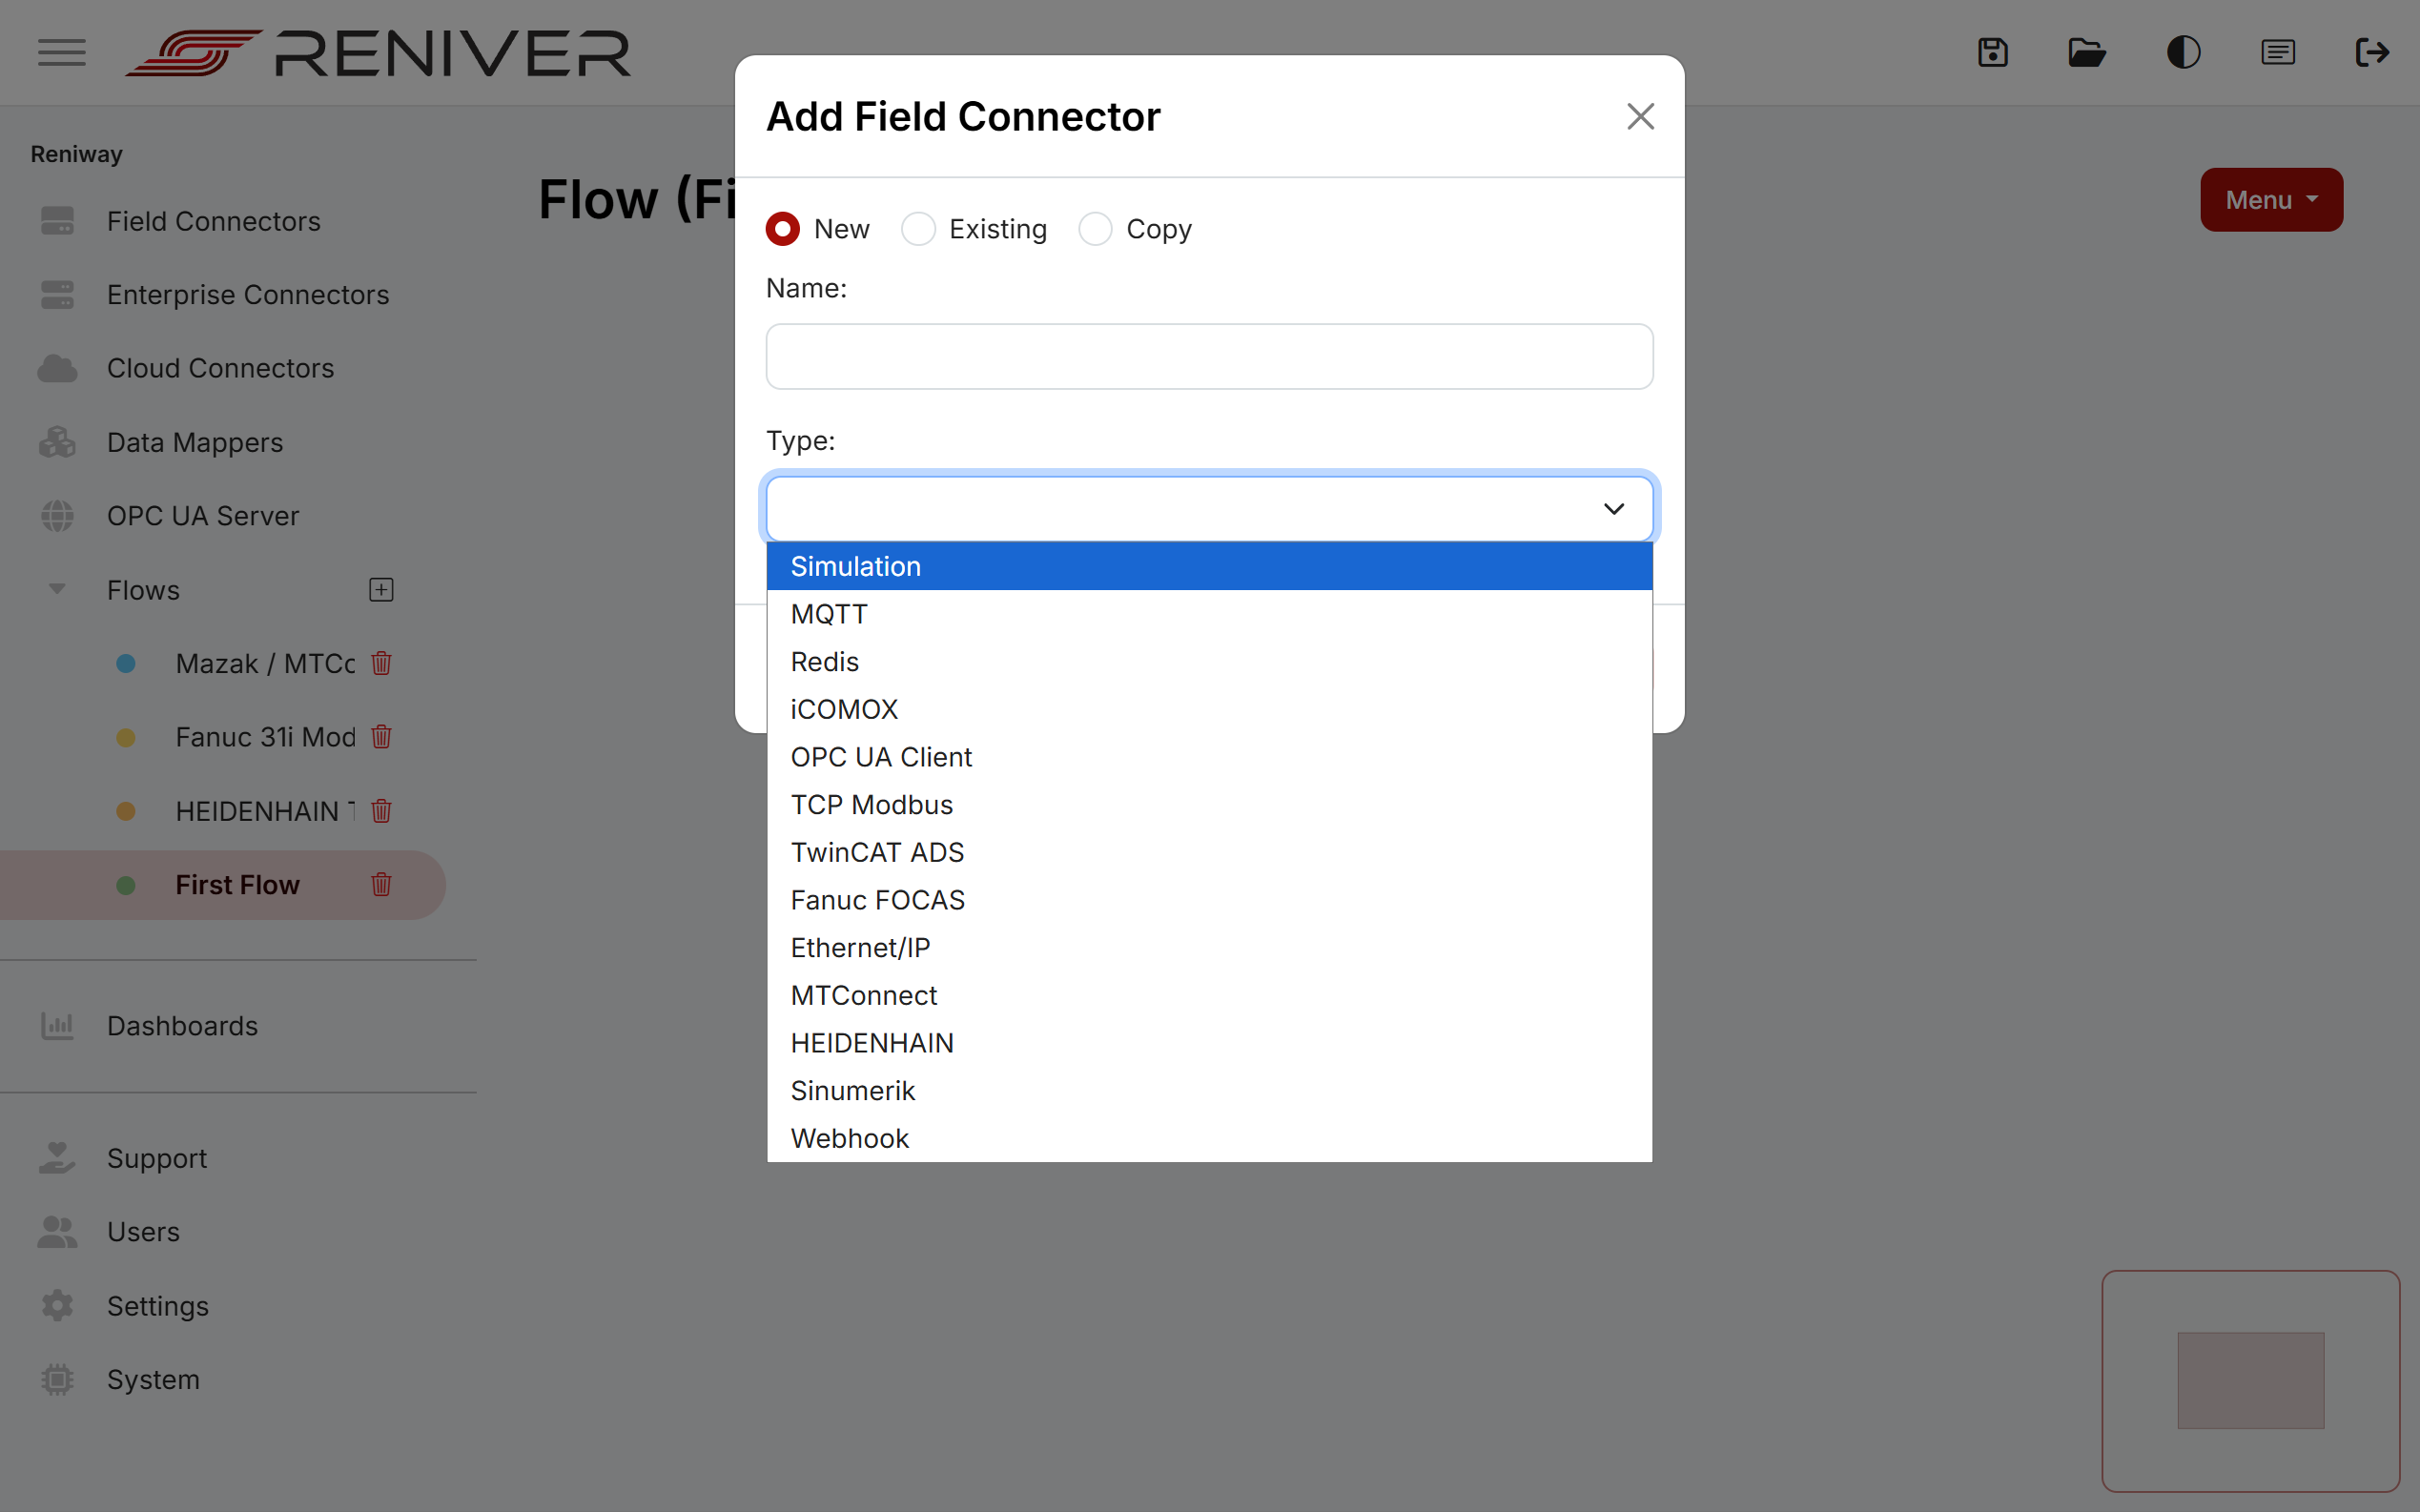
Create a flow (or open an existing one), then choose Menu > Field connector. Enter a name, select Simulation as the type and click Add.
The connector starts automatically and creates sample properties. Enable Show live data to see the values change.
2. Build the UNS payload with a data mapper
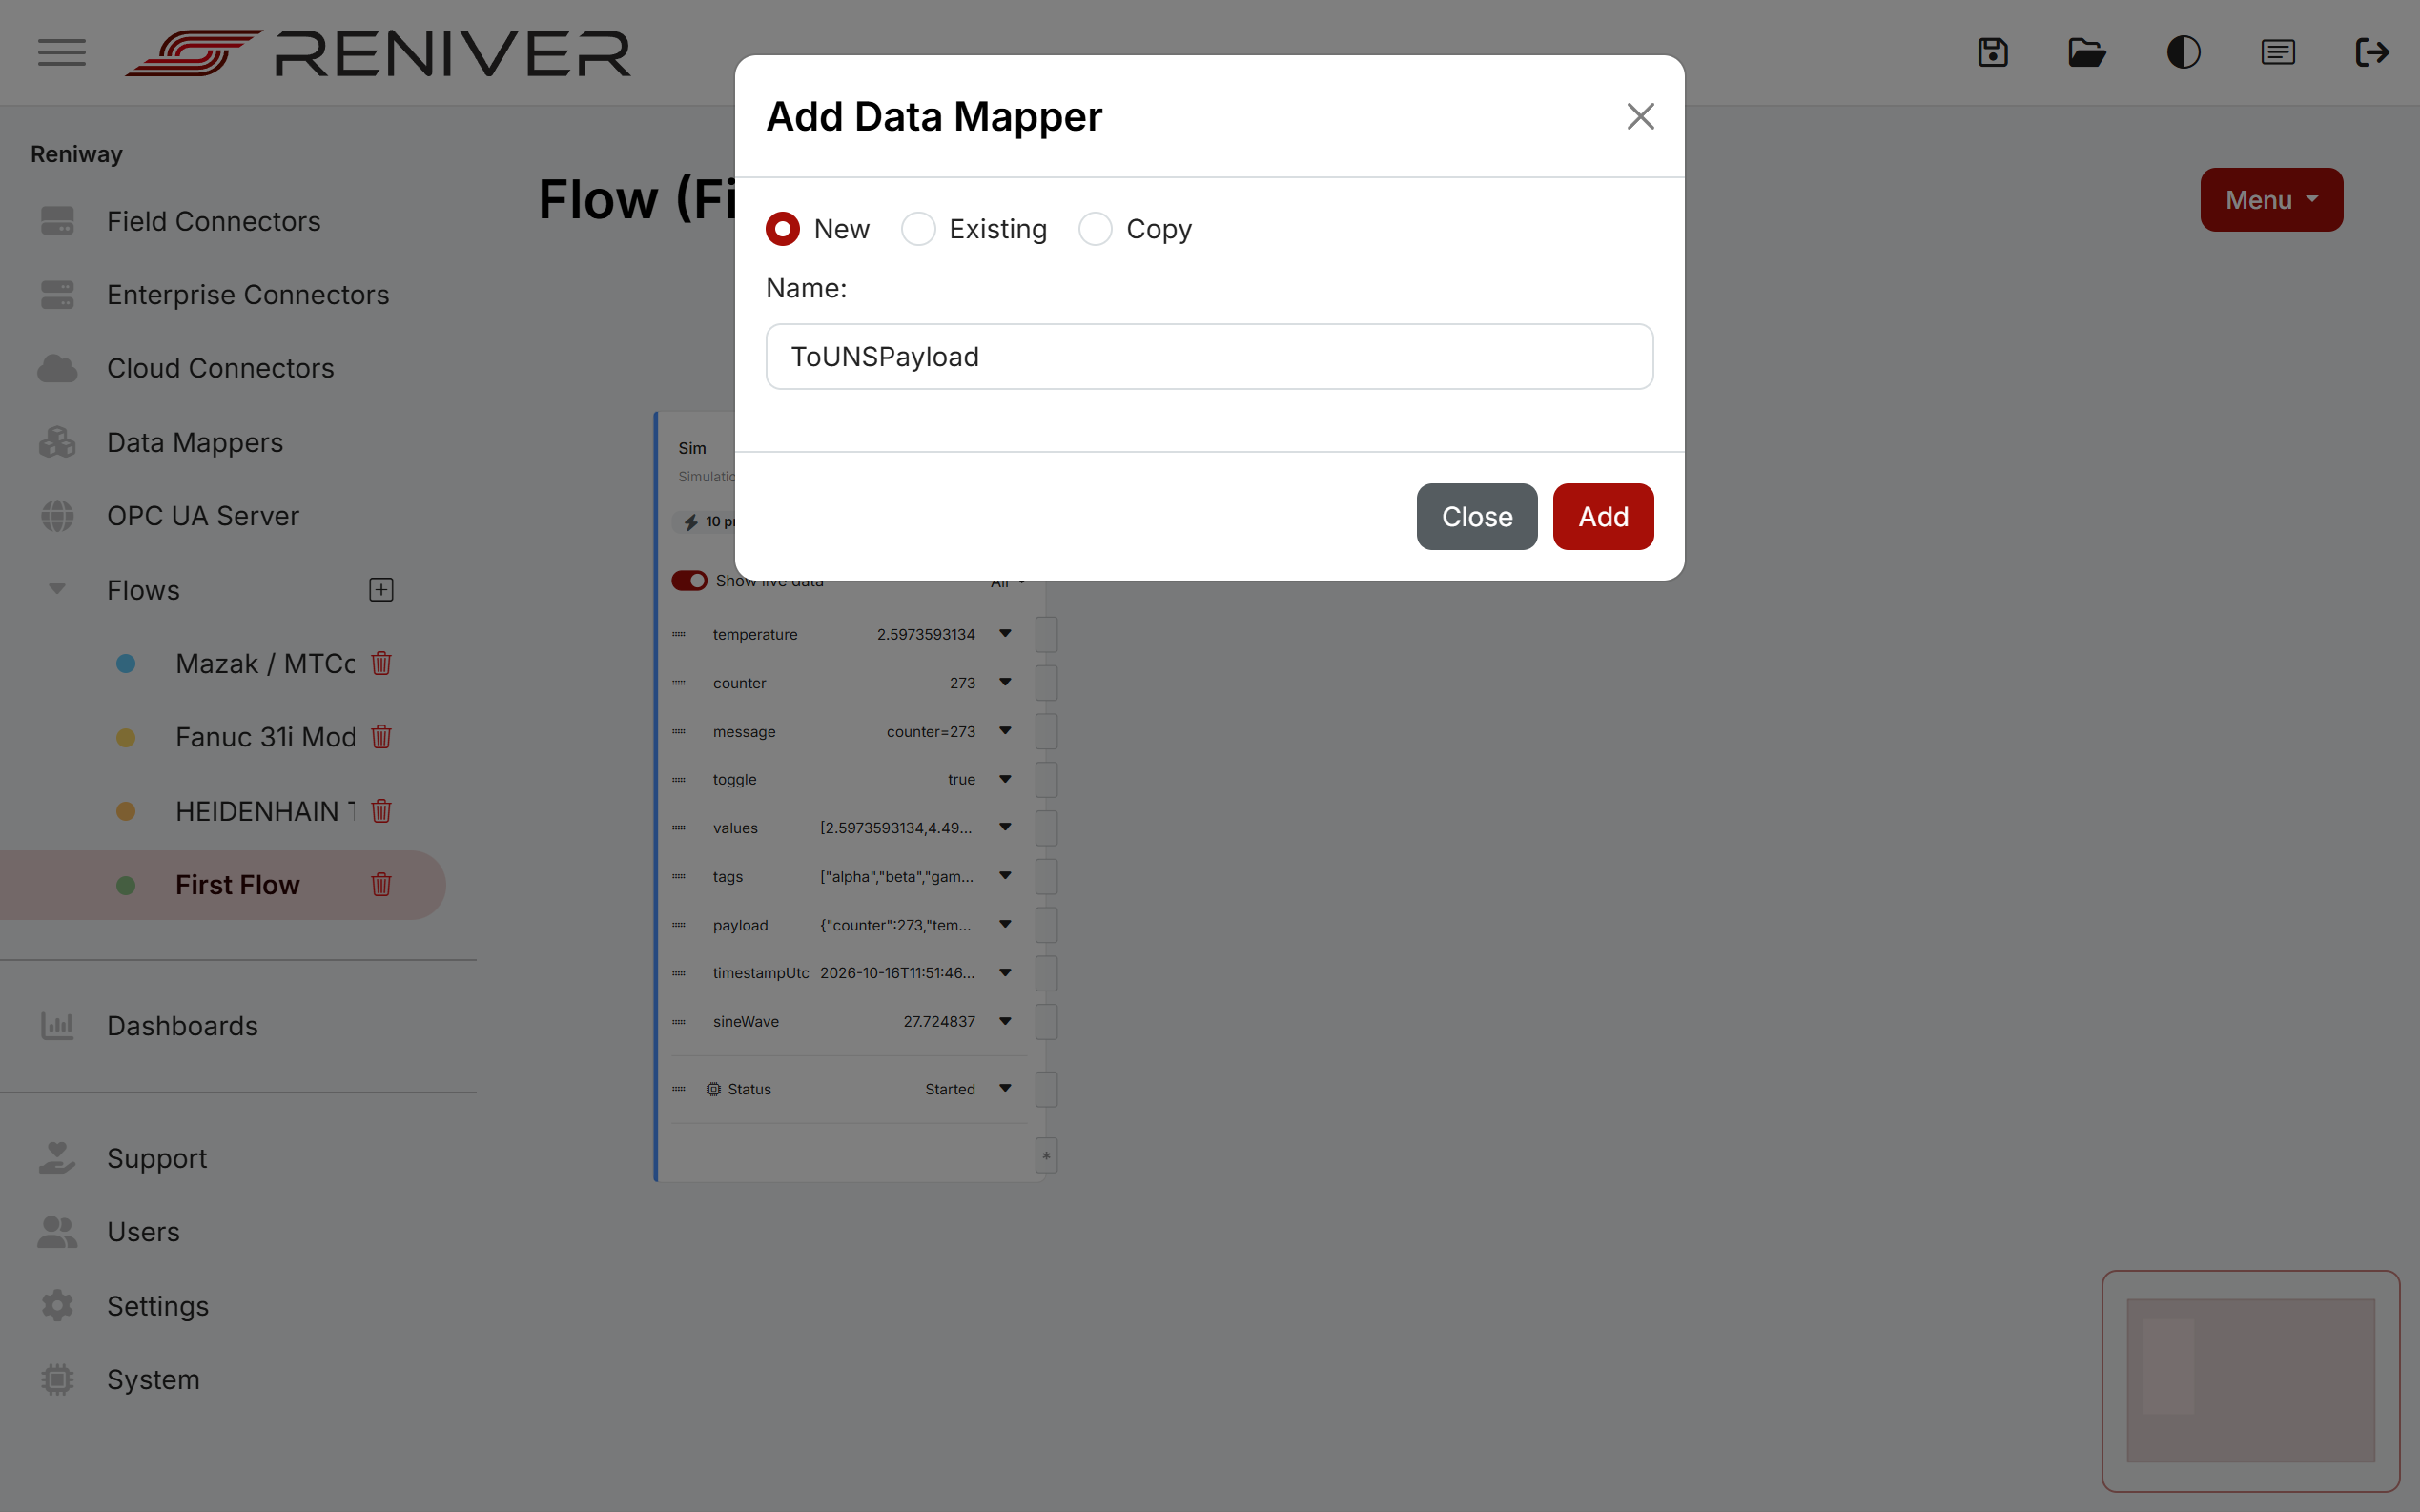
Choose Menu > Data Mapper, name it (for example ToUNSPayload) and click Add.
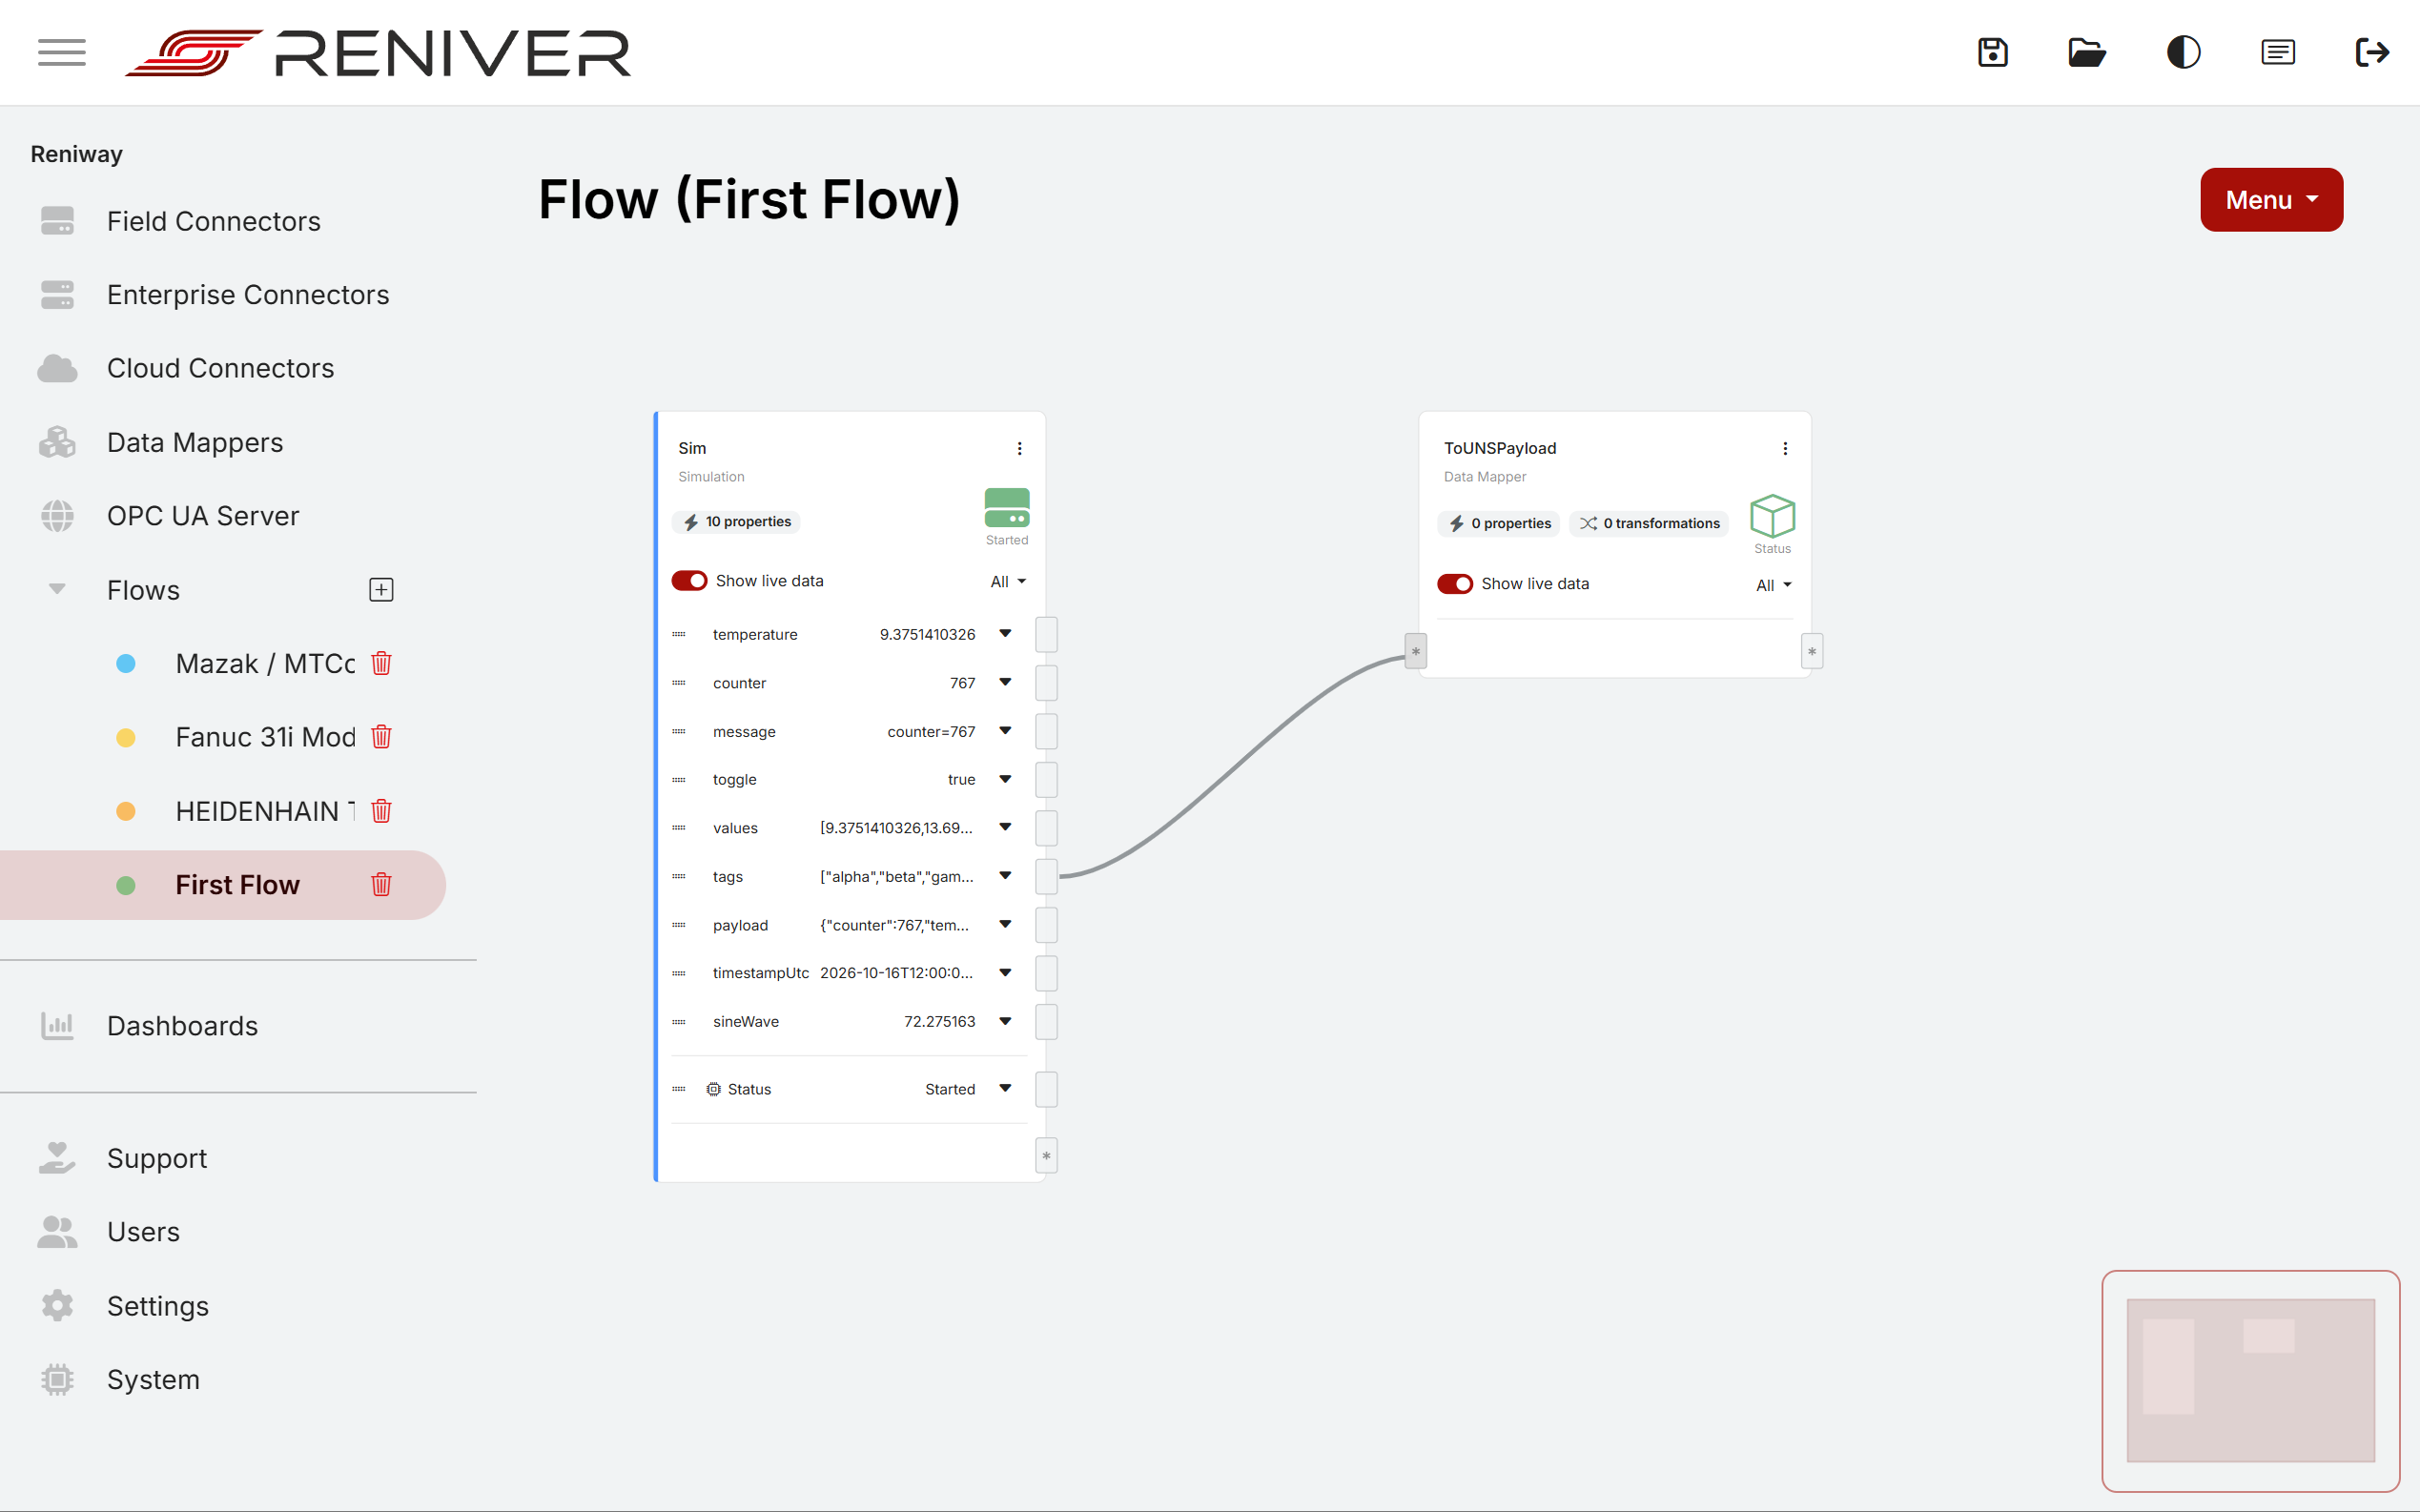
Drag the temperature and tags output sockets of the simulator onto the * input socket of the data mapper. Each becomes an input property of the data mapper.
Open the data mapper's ⋮ menu and add a transformation:
- Name:
TemperatureToUNS - Input properties:
tagsandtemperature. Tick Trigger transformation only fortemperature, so a new payload is sent whenever the temperature changes. - Type:
JSON
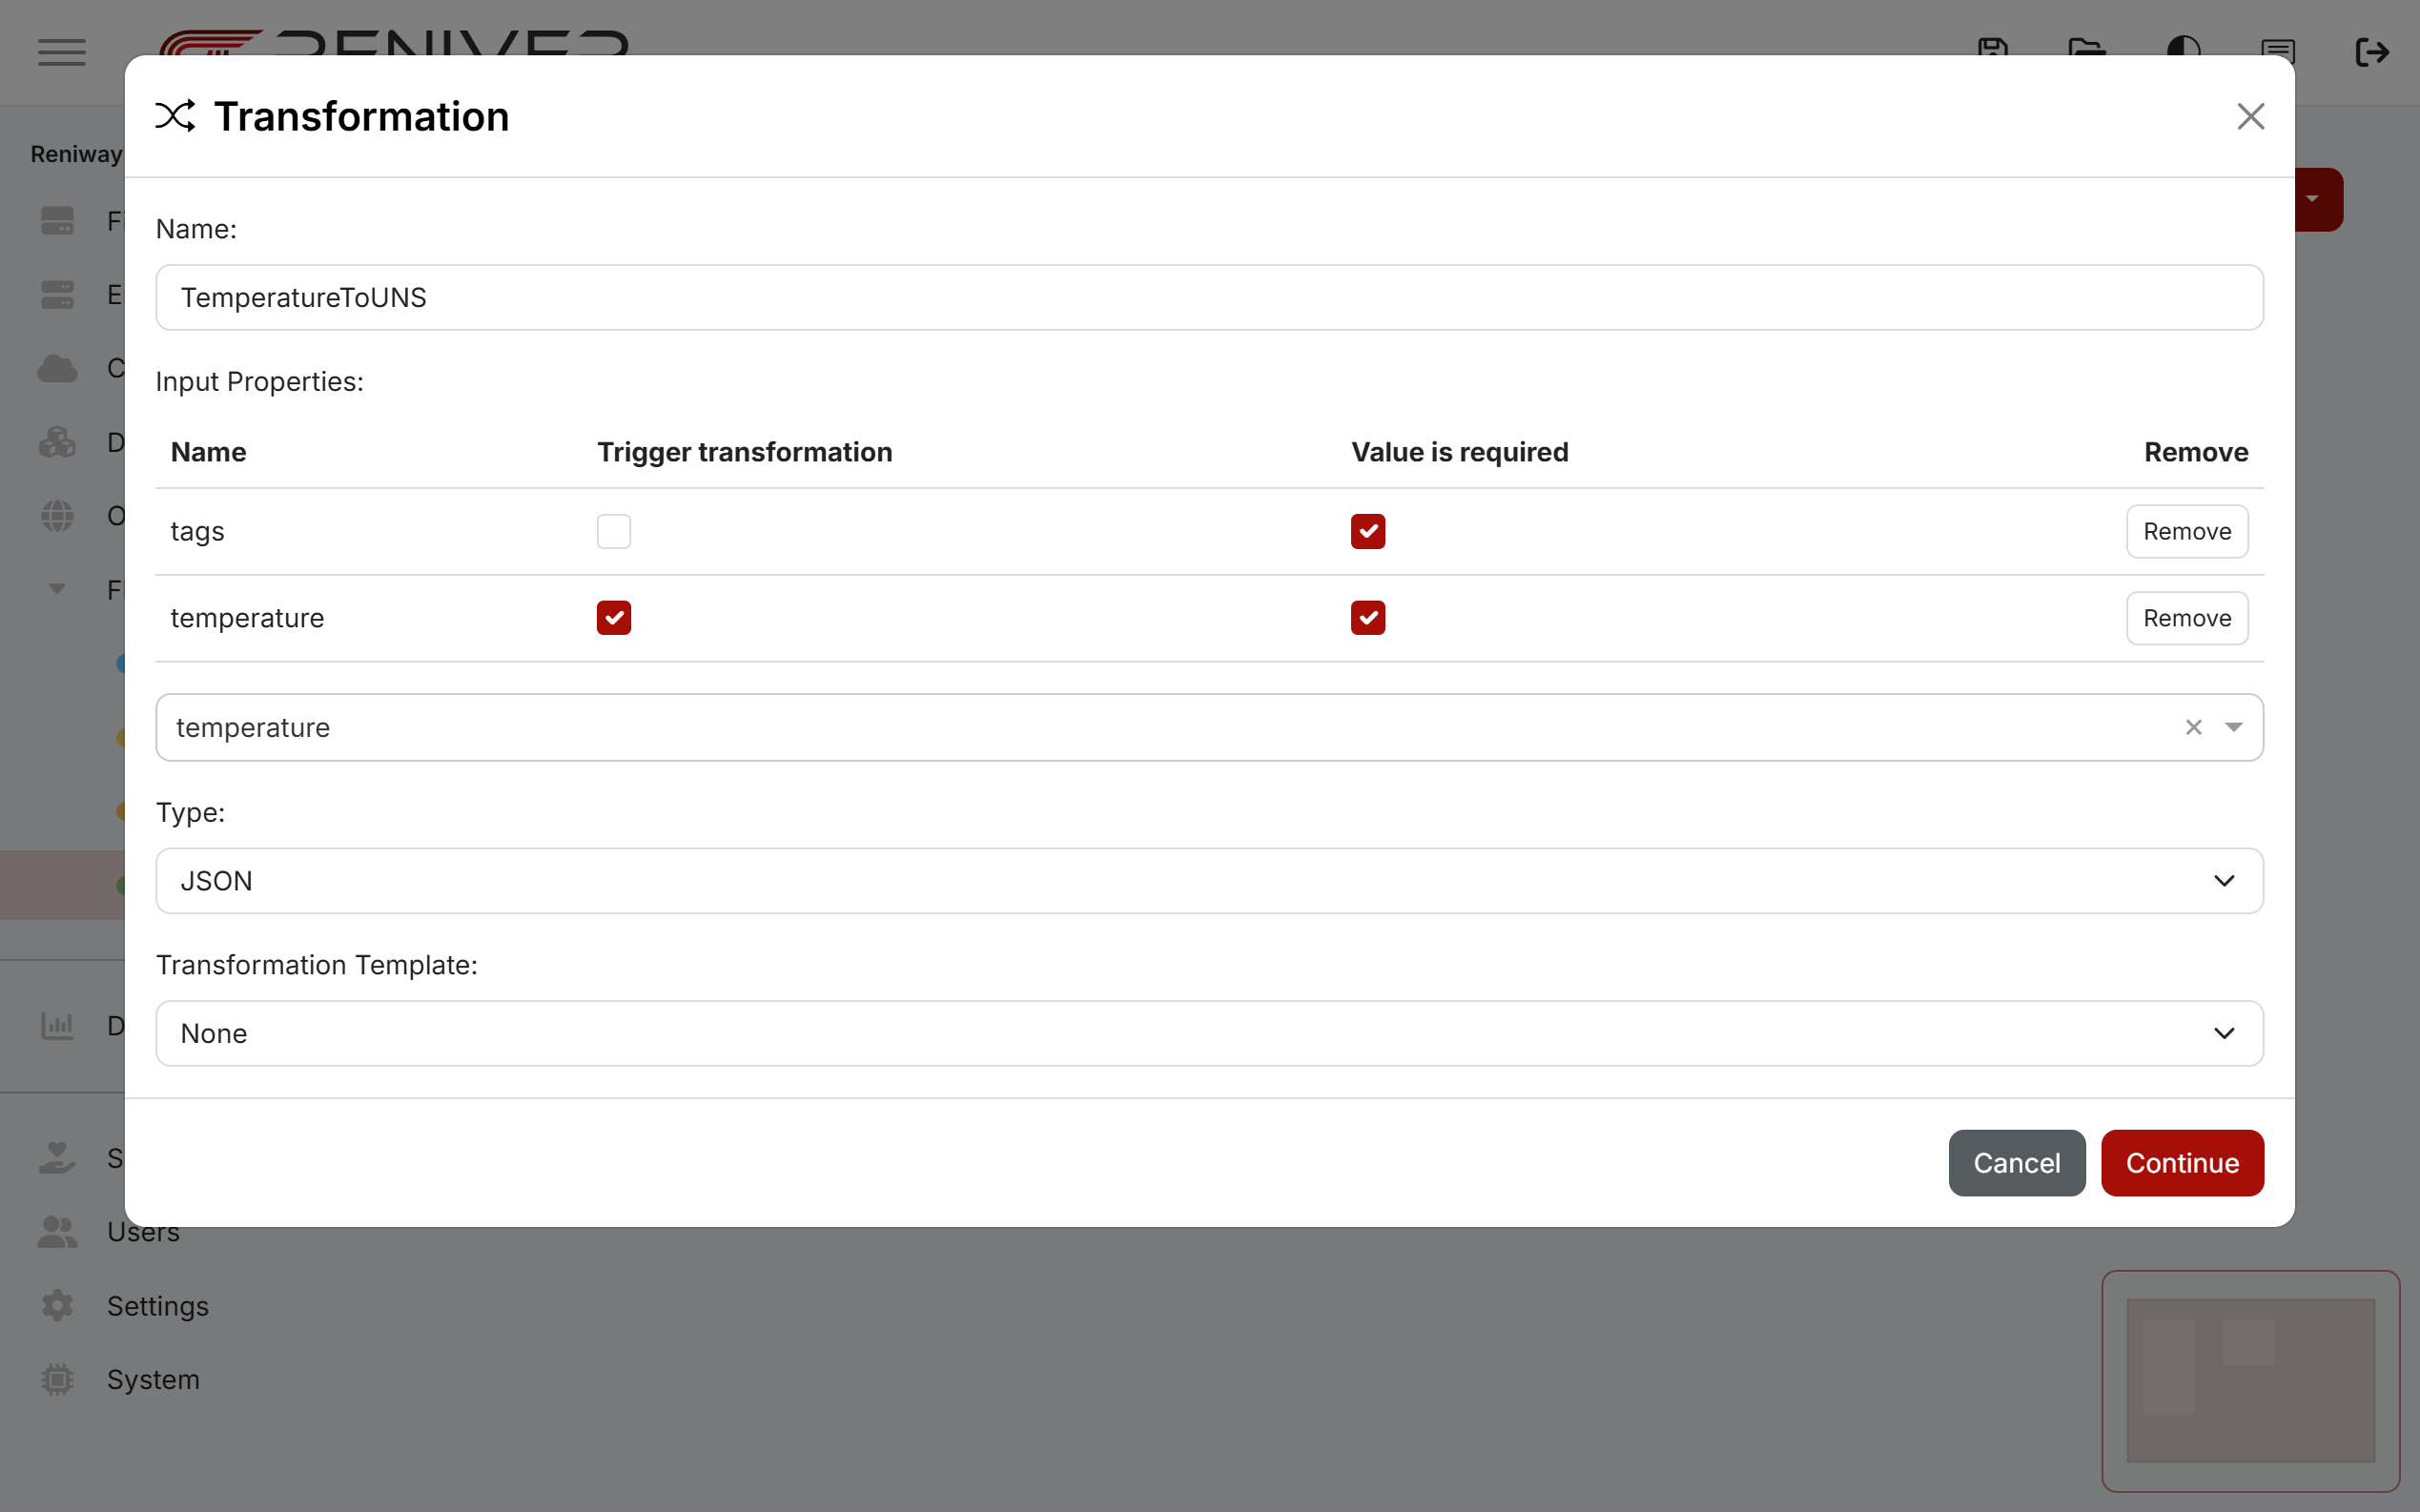
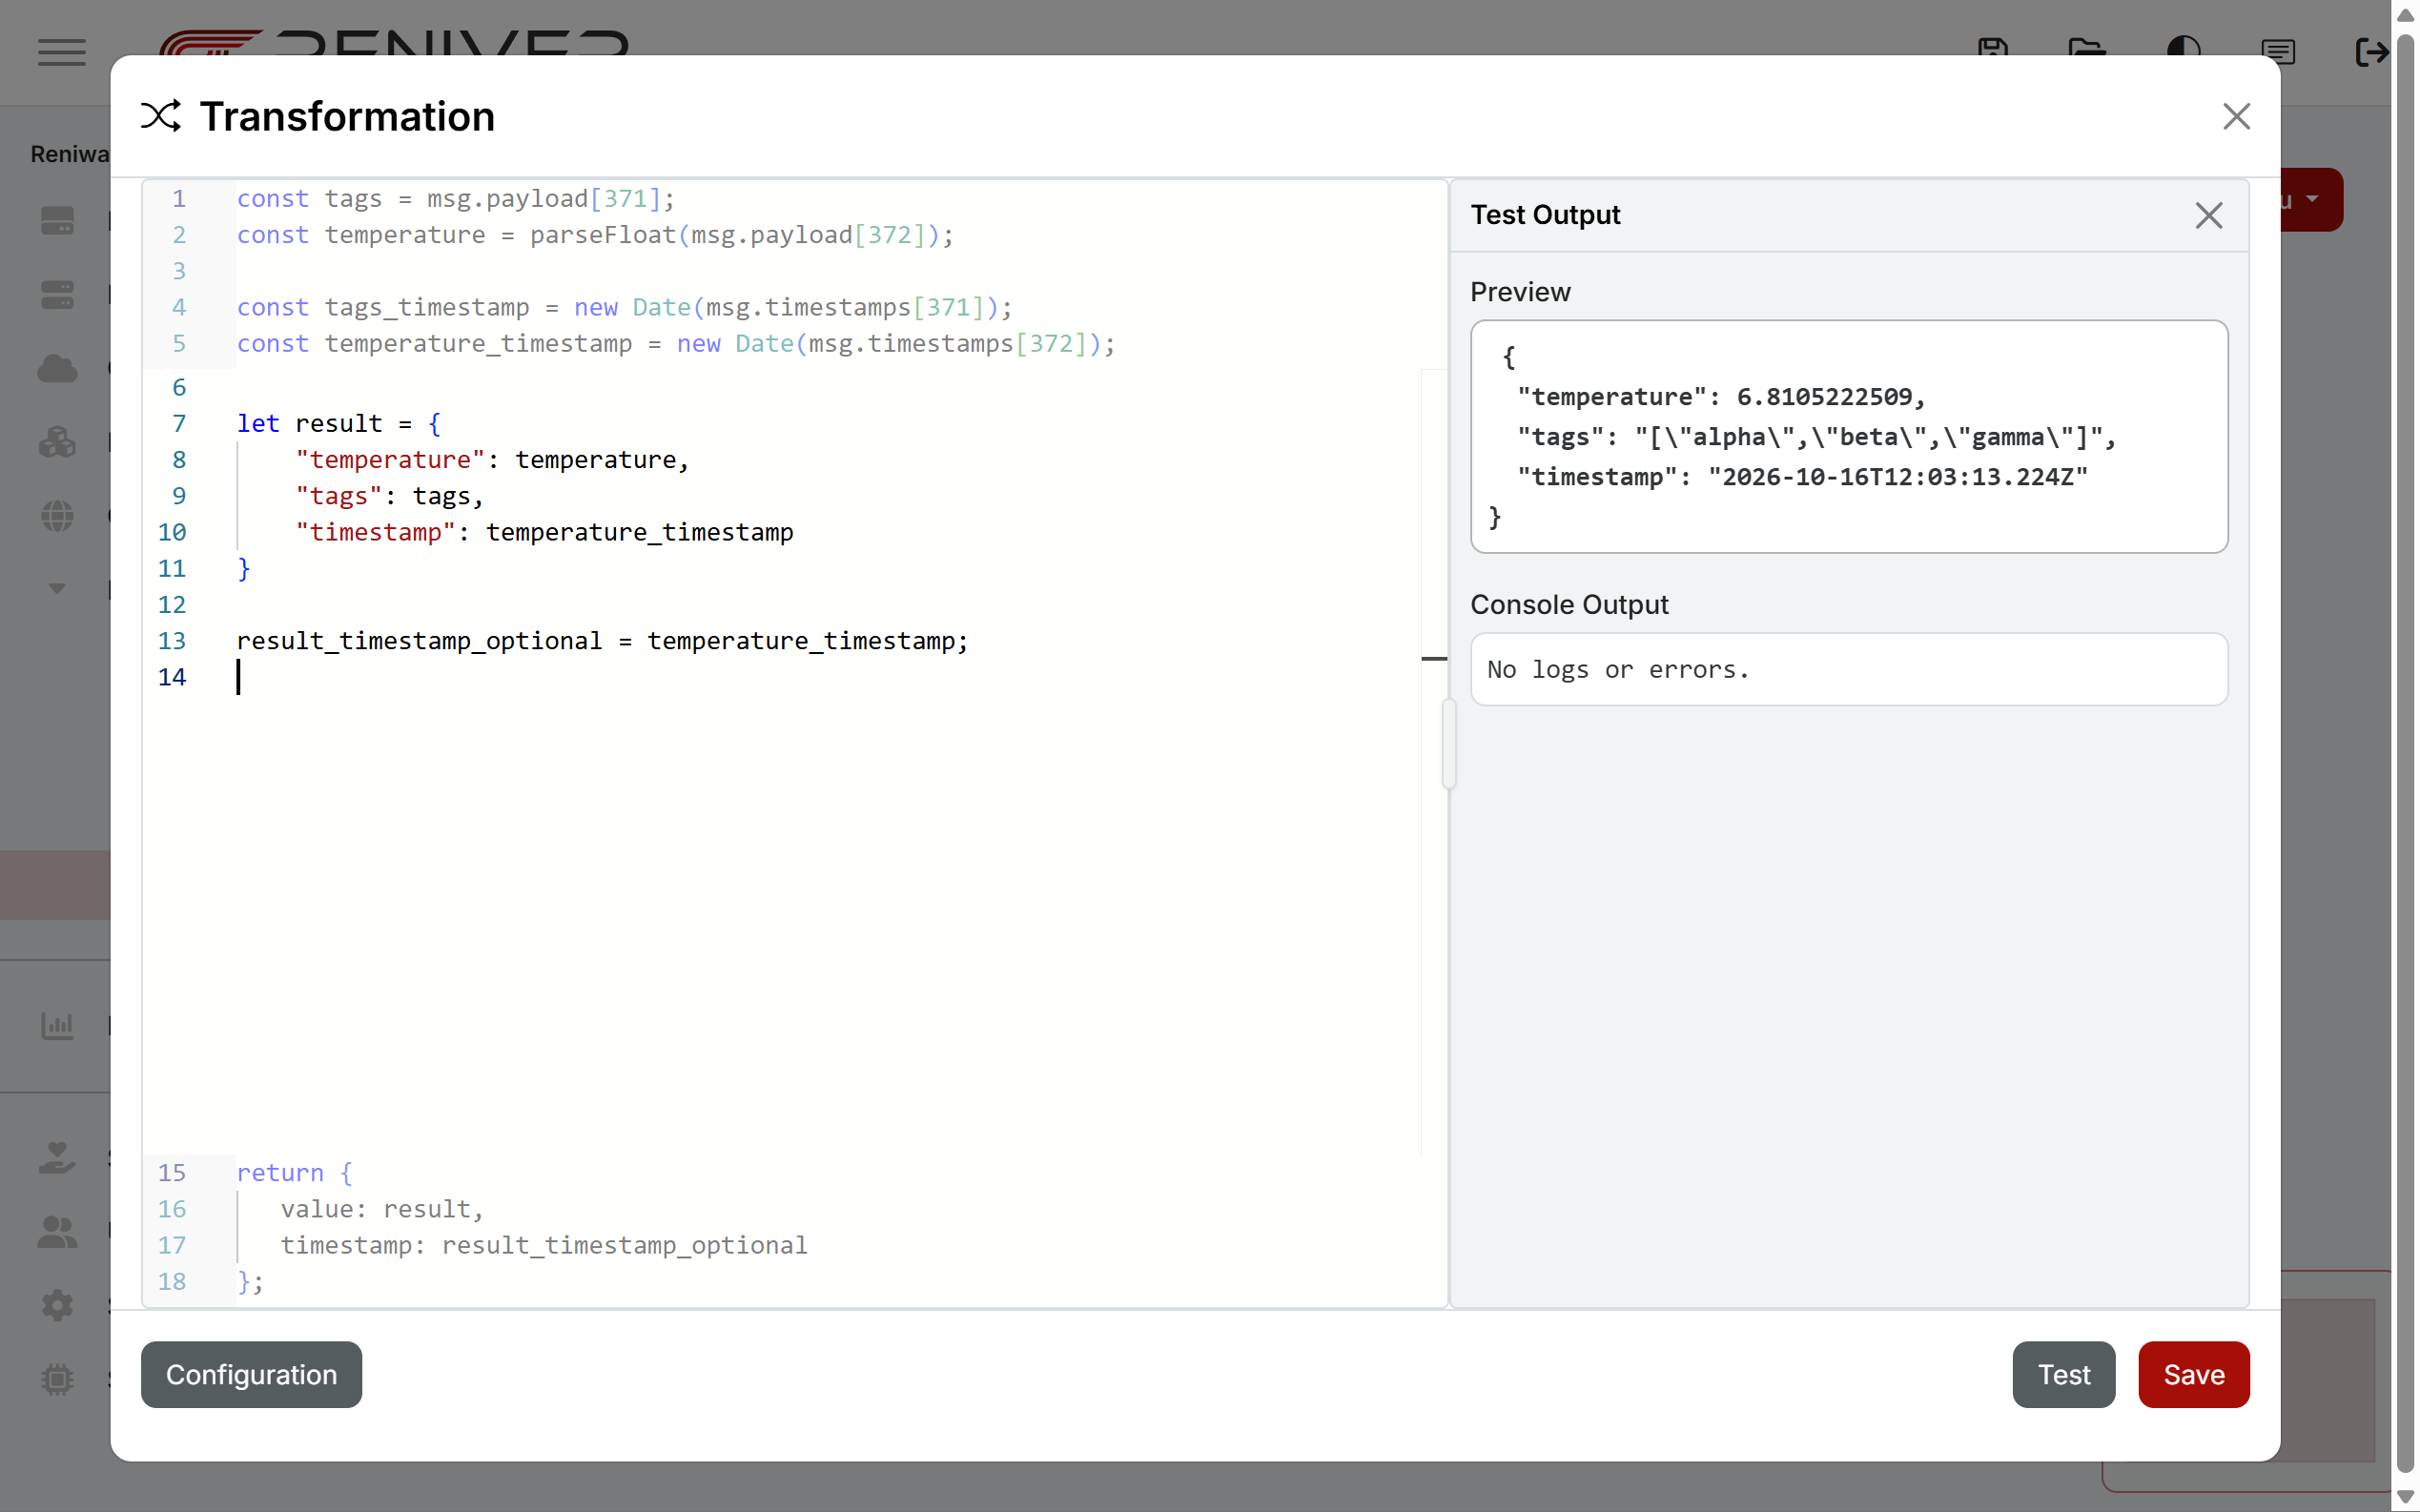
Click Continue and write the transformation. The first lines are generated for you; add the payload in the editable body:
let result = {
    "temperature": temperature,
    "tags": tags,
    "timestamp": temperature_timestamp
}

result_timestamp_optional = temperature_timestamp;
Click Test to check the result in Preview, then Save.
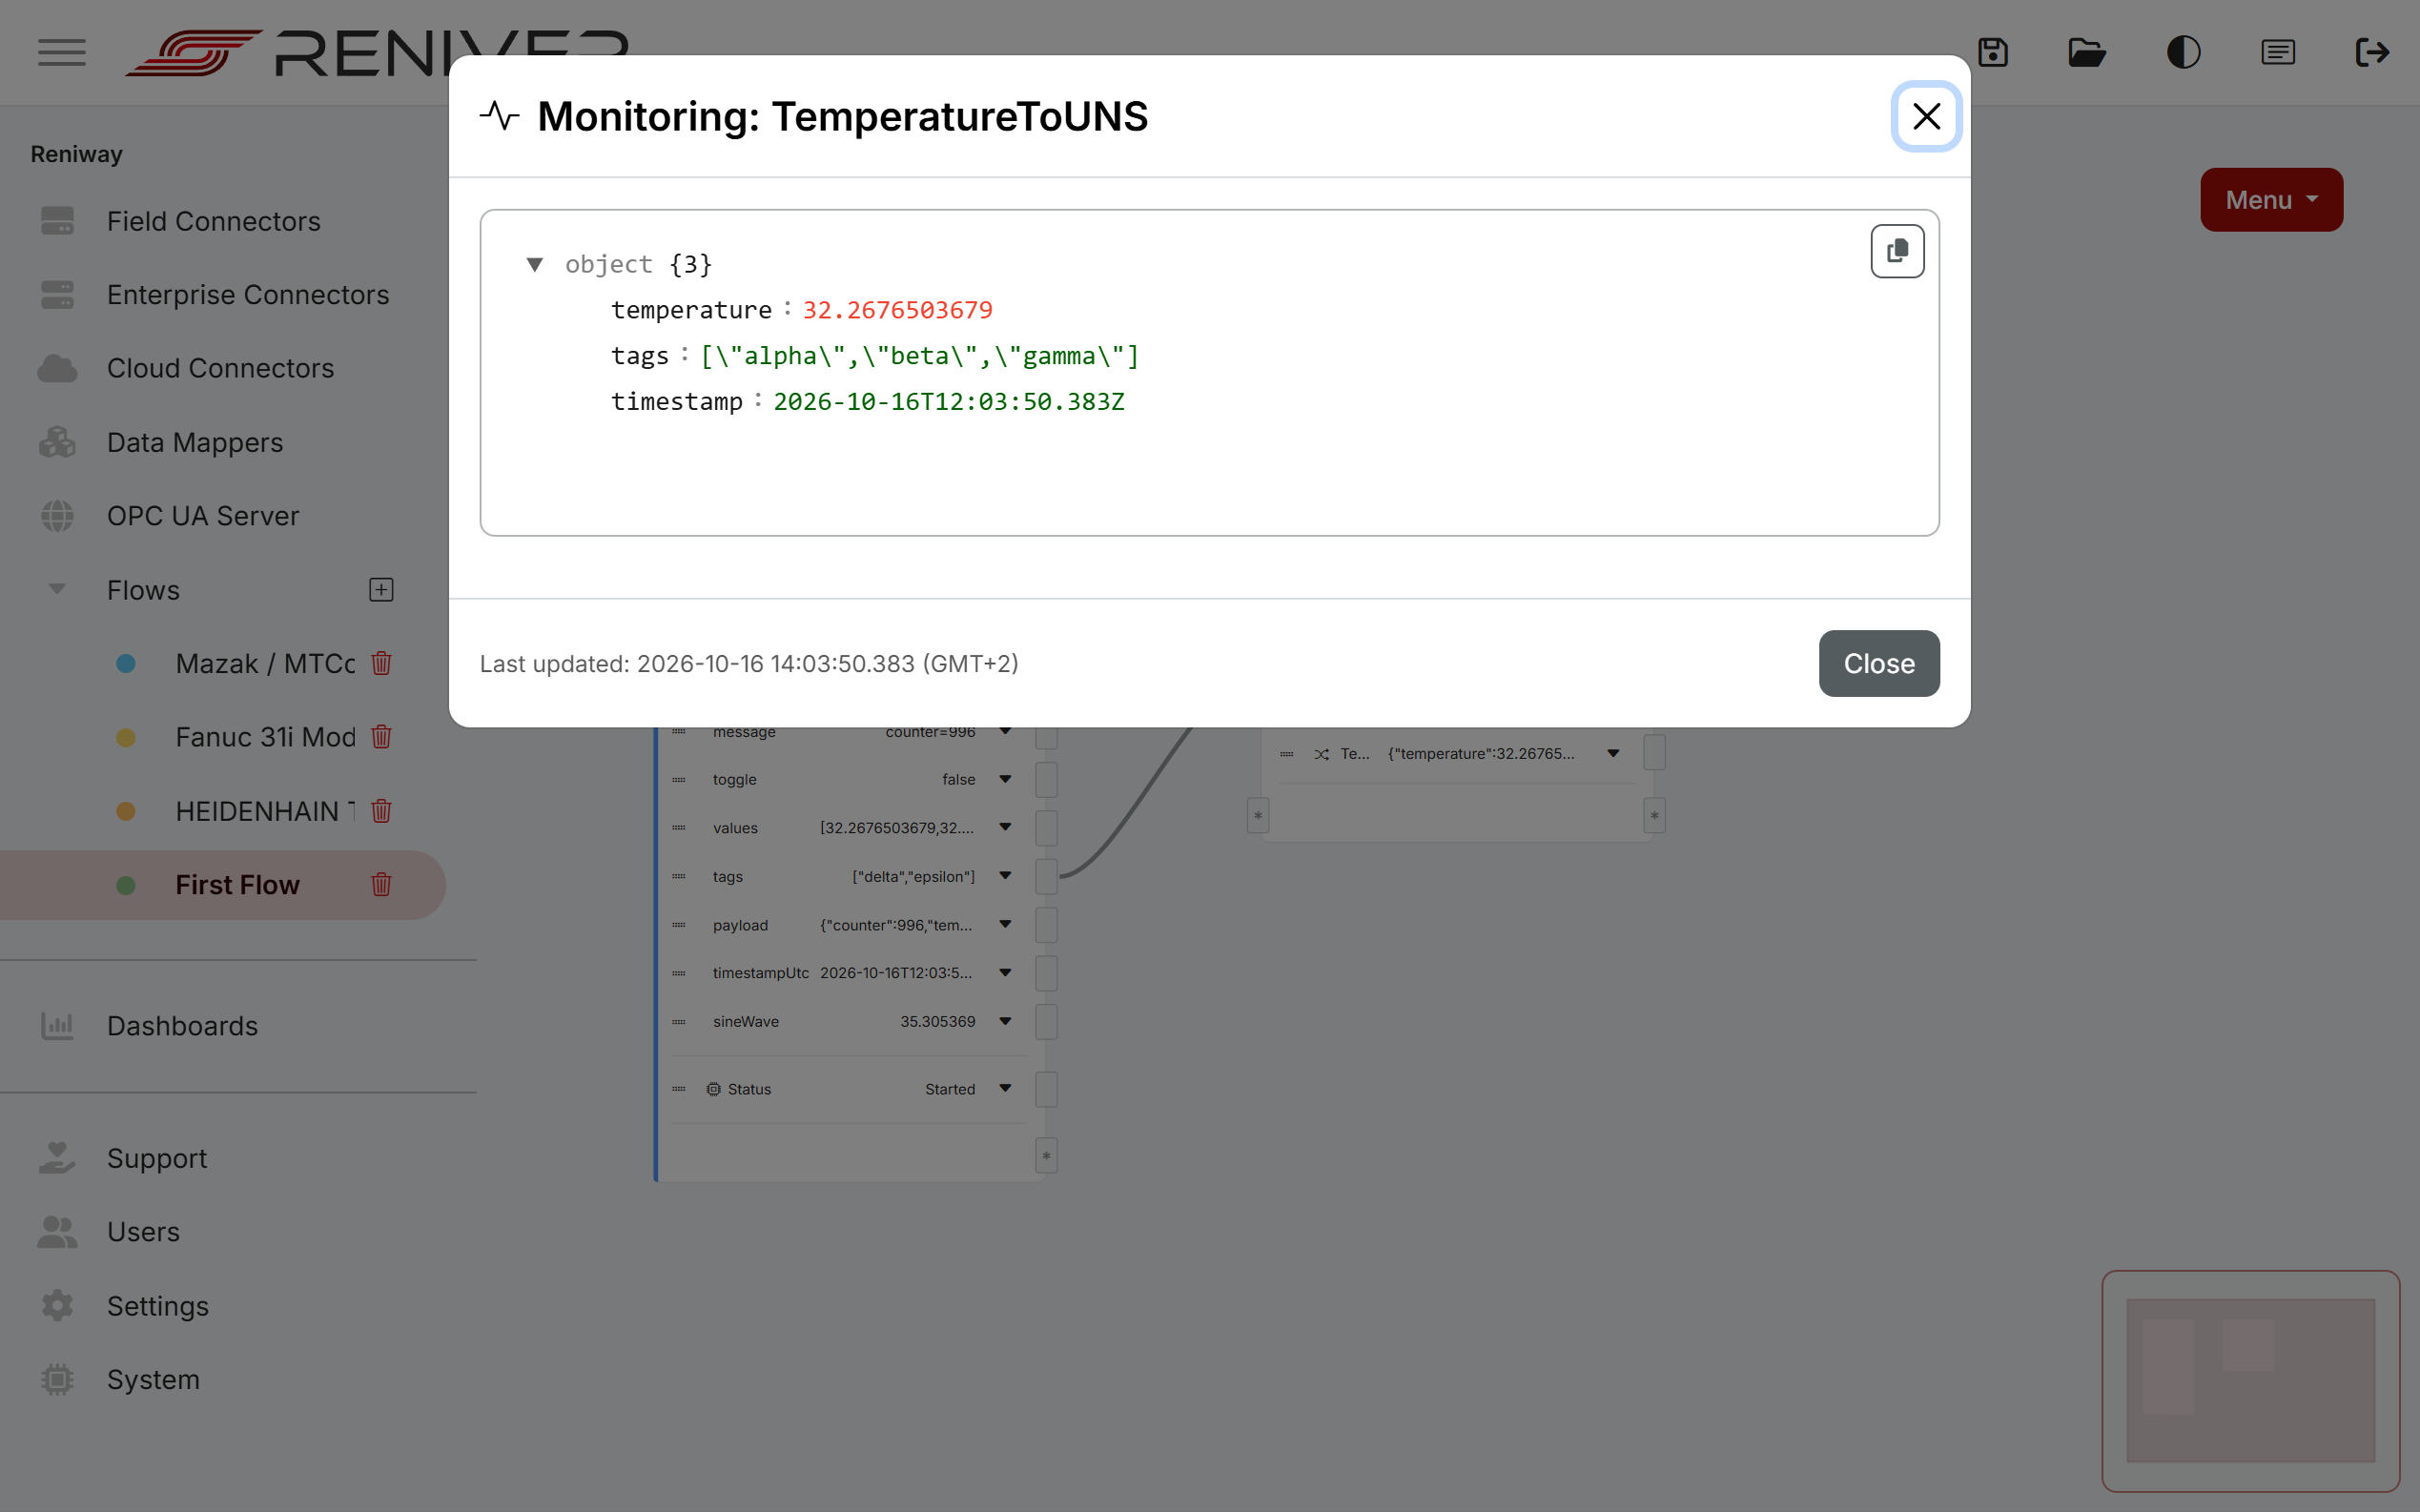
The transformation now appears as an output on the data mapper. Open its monitor to inspect the live payload.
See Data Mappers for more on the editor.
3. Publish to the built-in MQTT broker
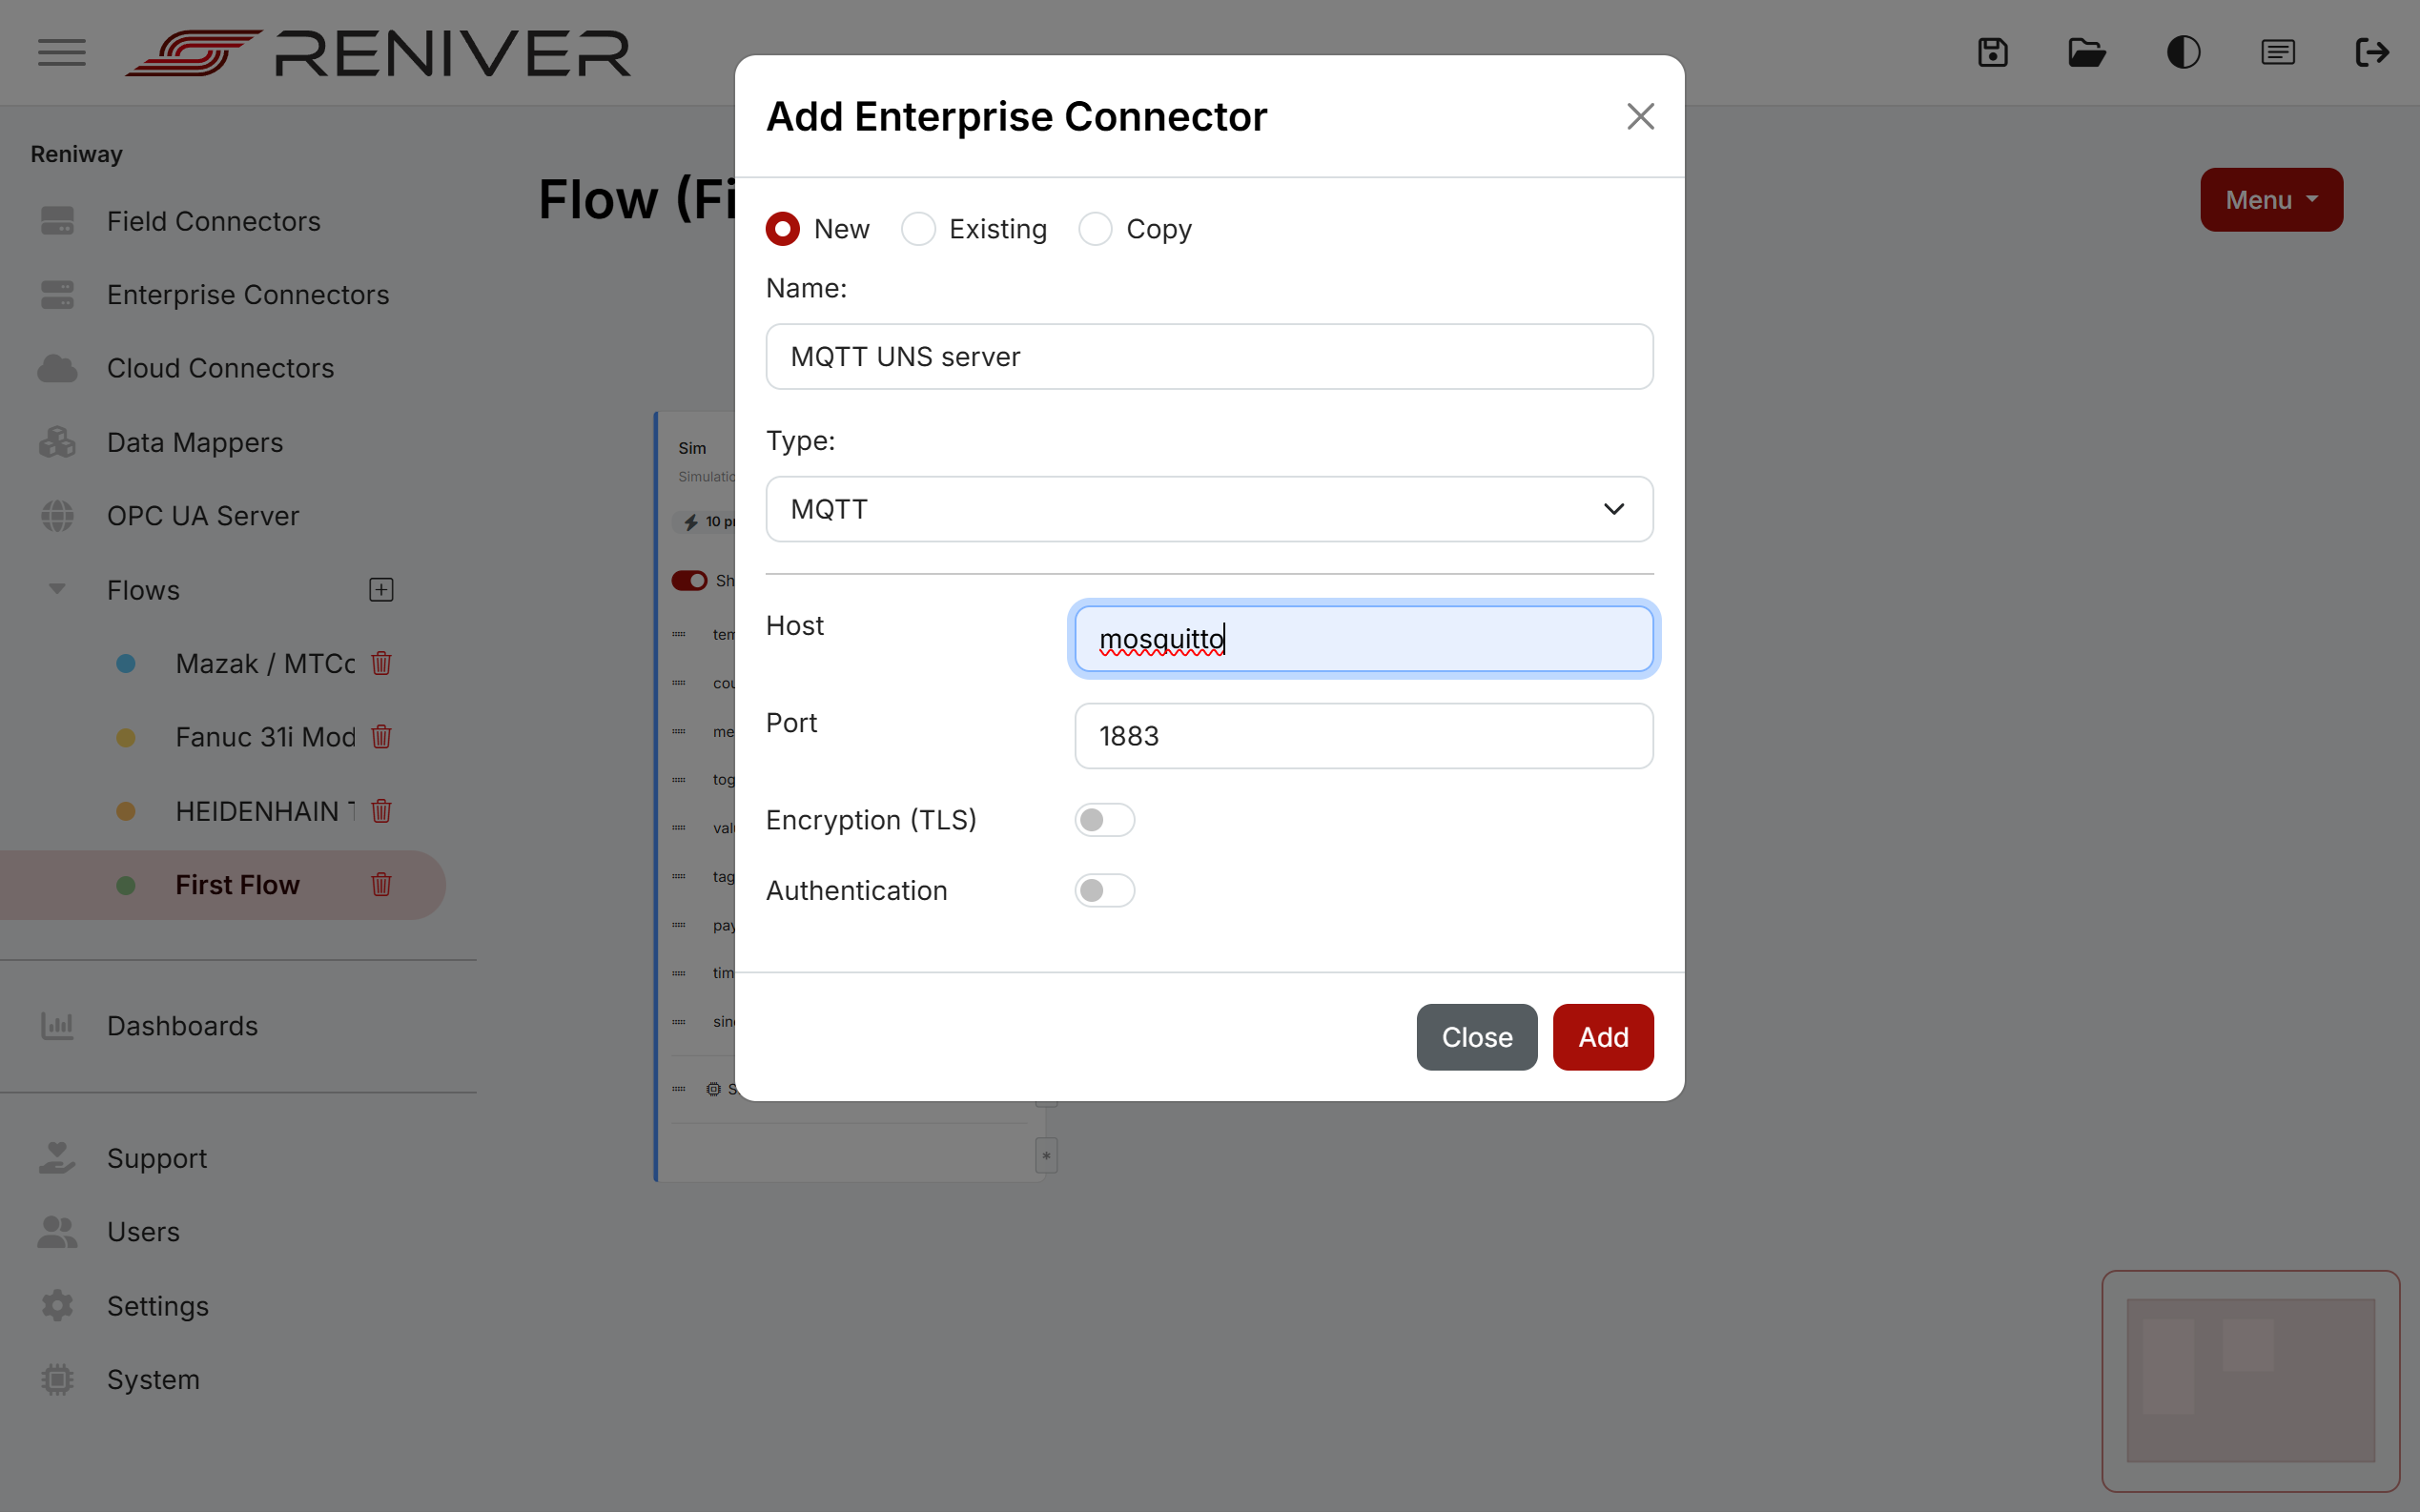
Choose Menu > Enterprise connector, select MQTT and connect to the built-in broker:
- Host:
mosquitto - Port:
1883
Click Add.
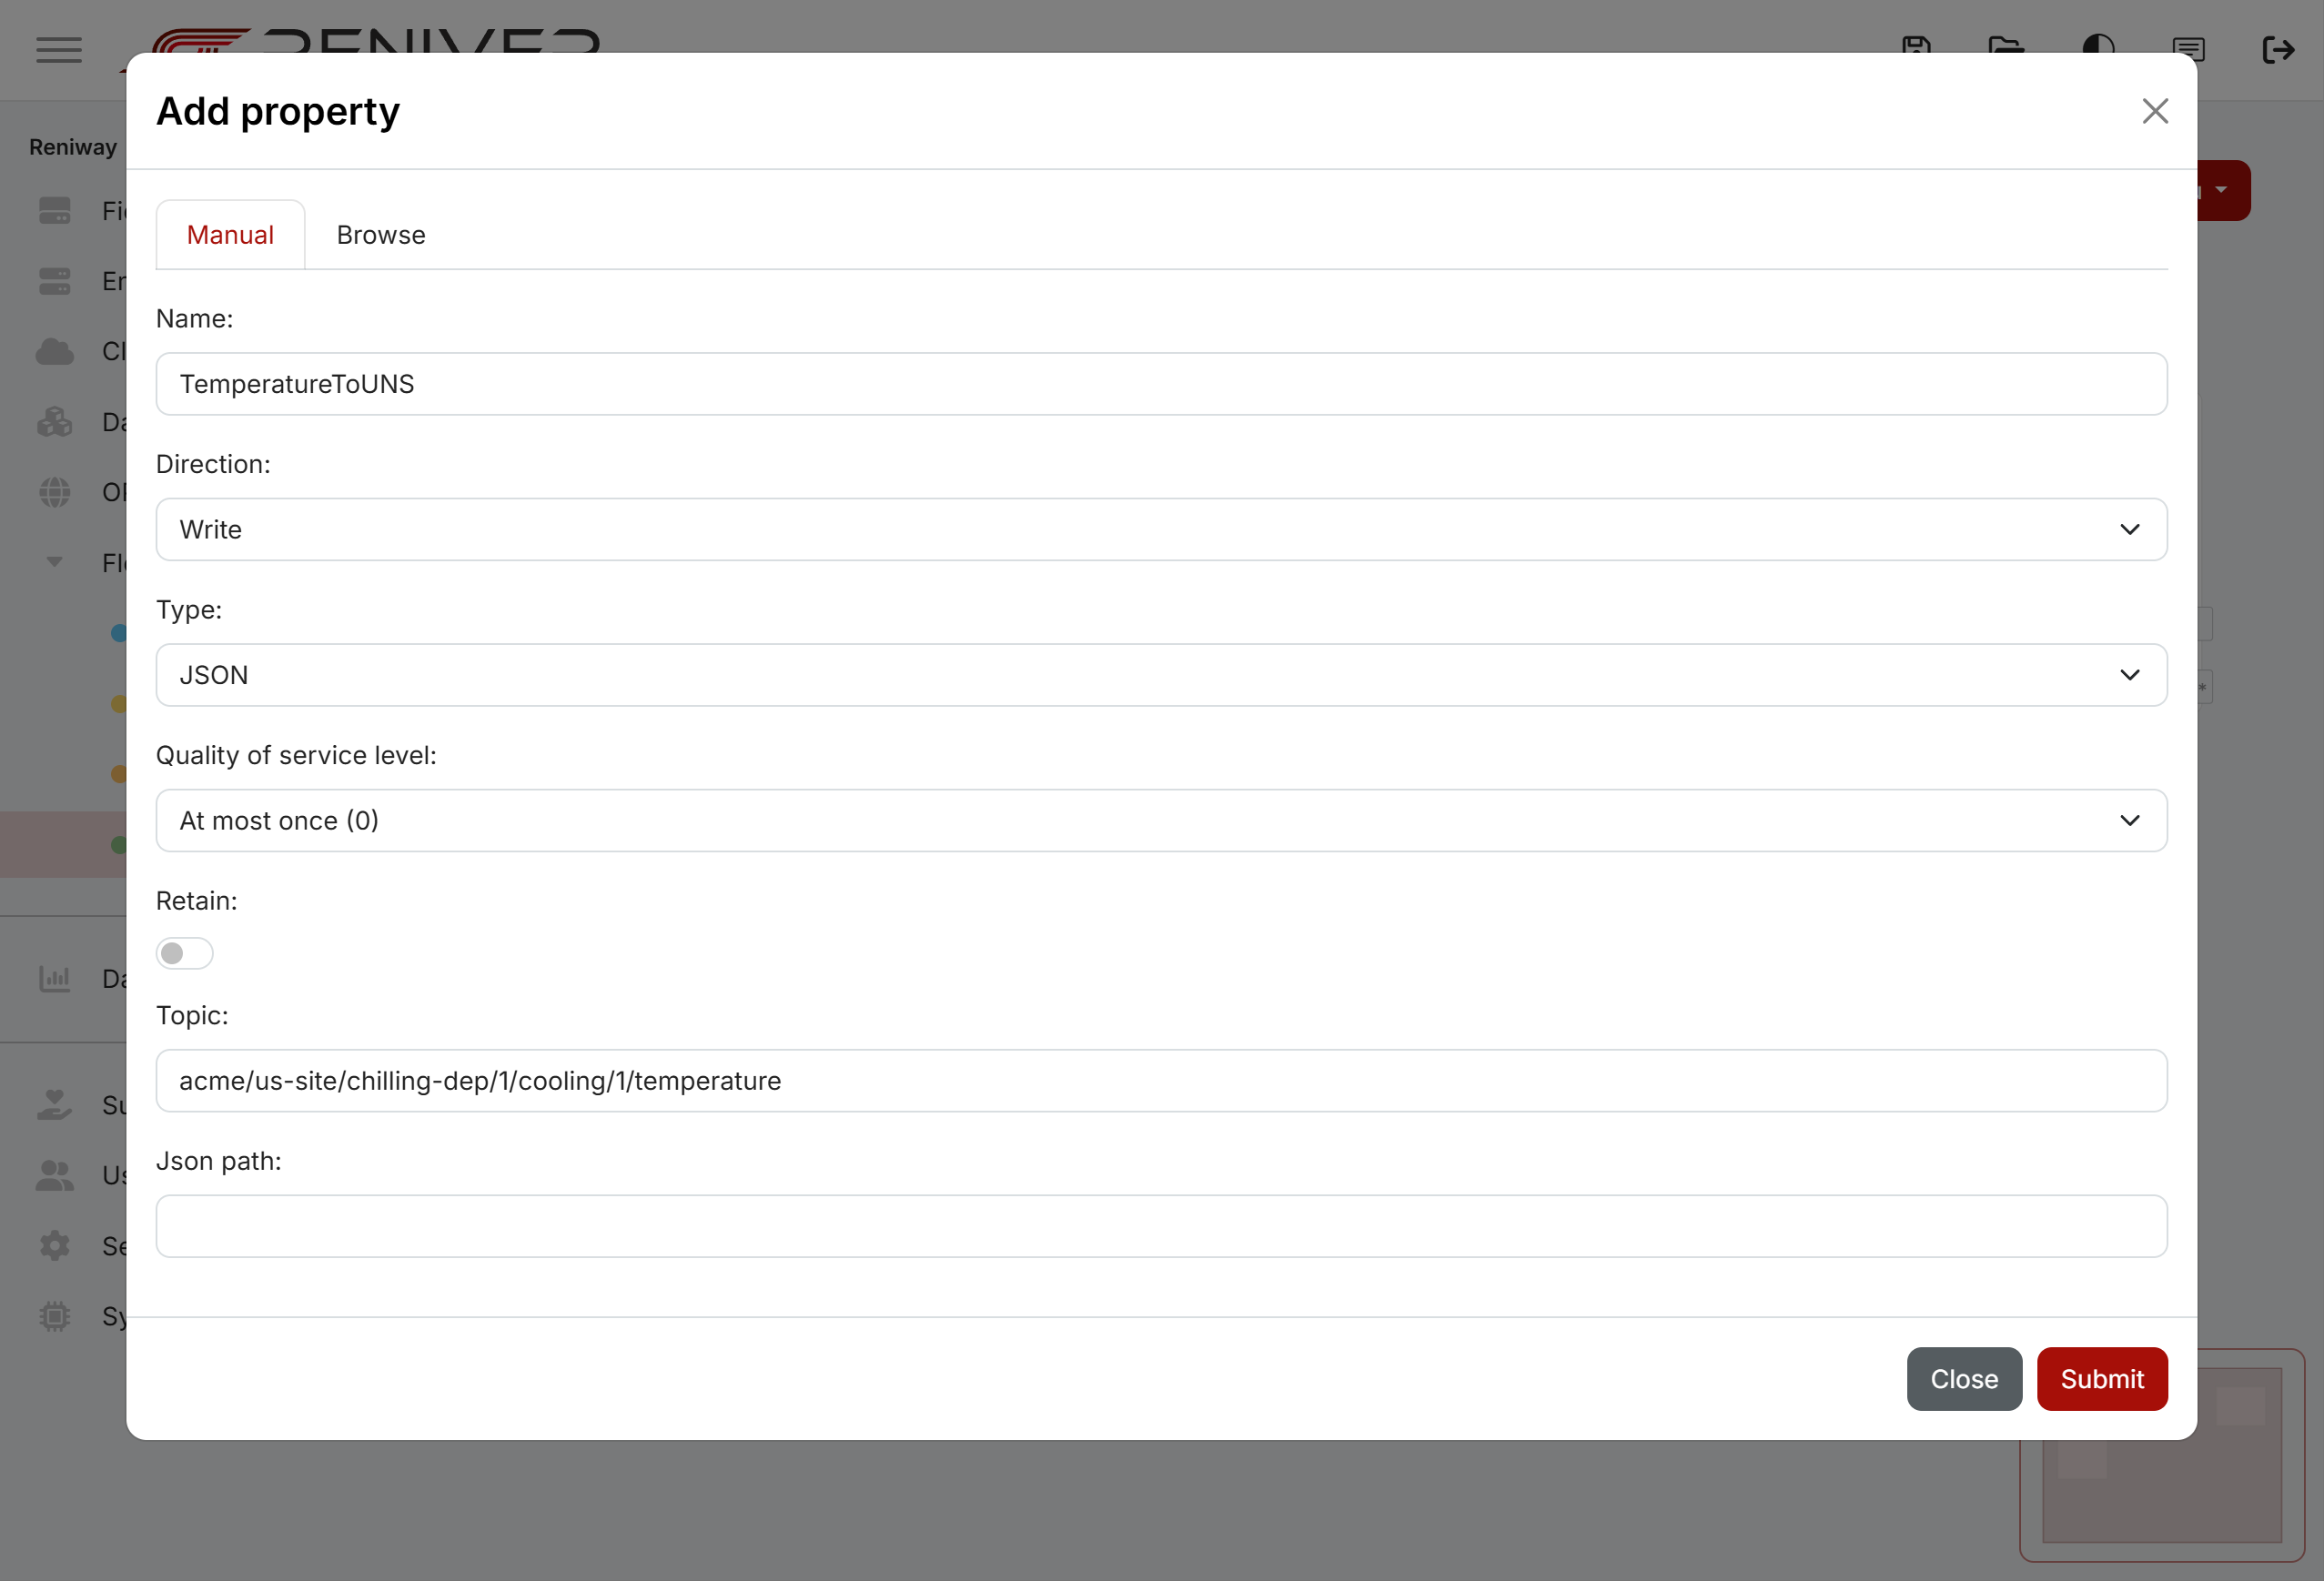
Drag the TemperatureToUNS output of the data mapper onto the * input socket of the MQTT connector.
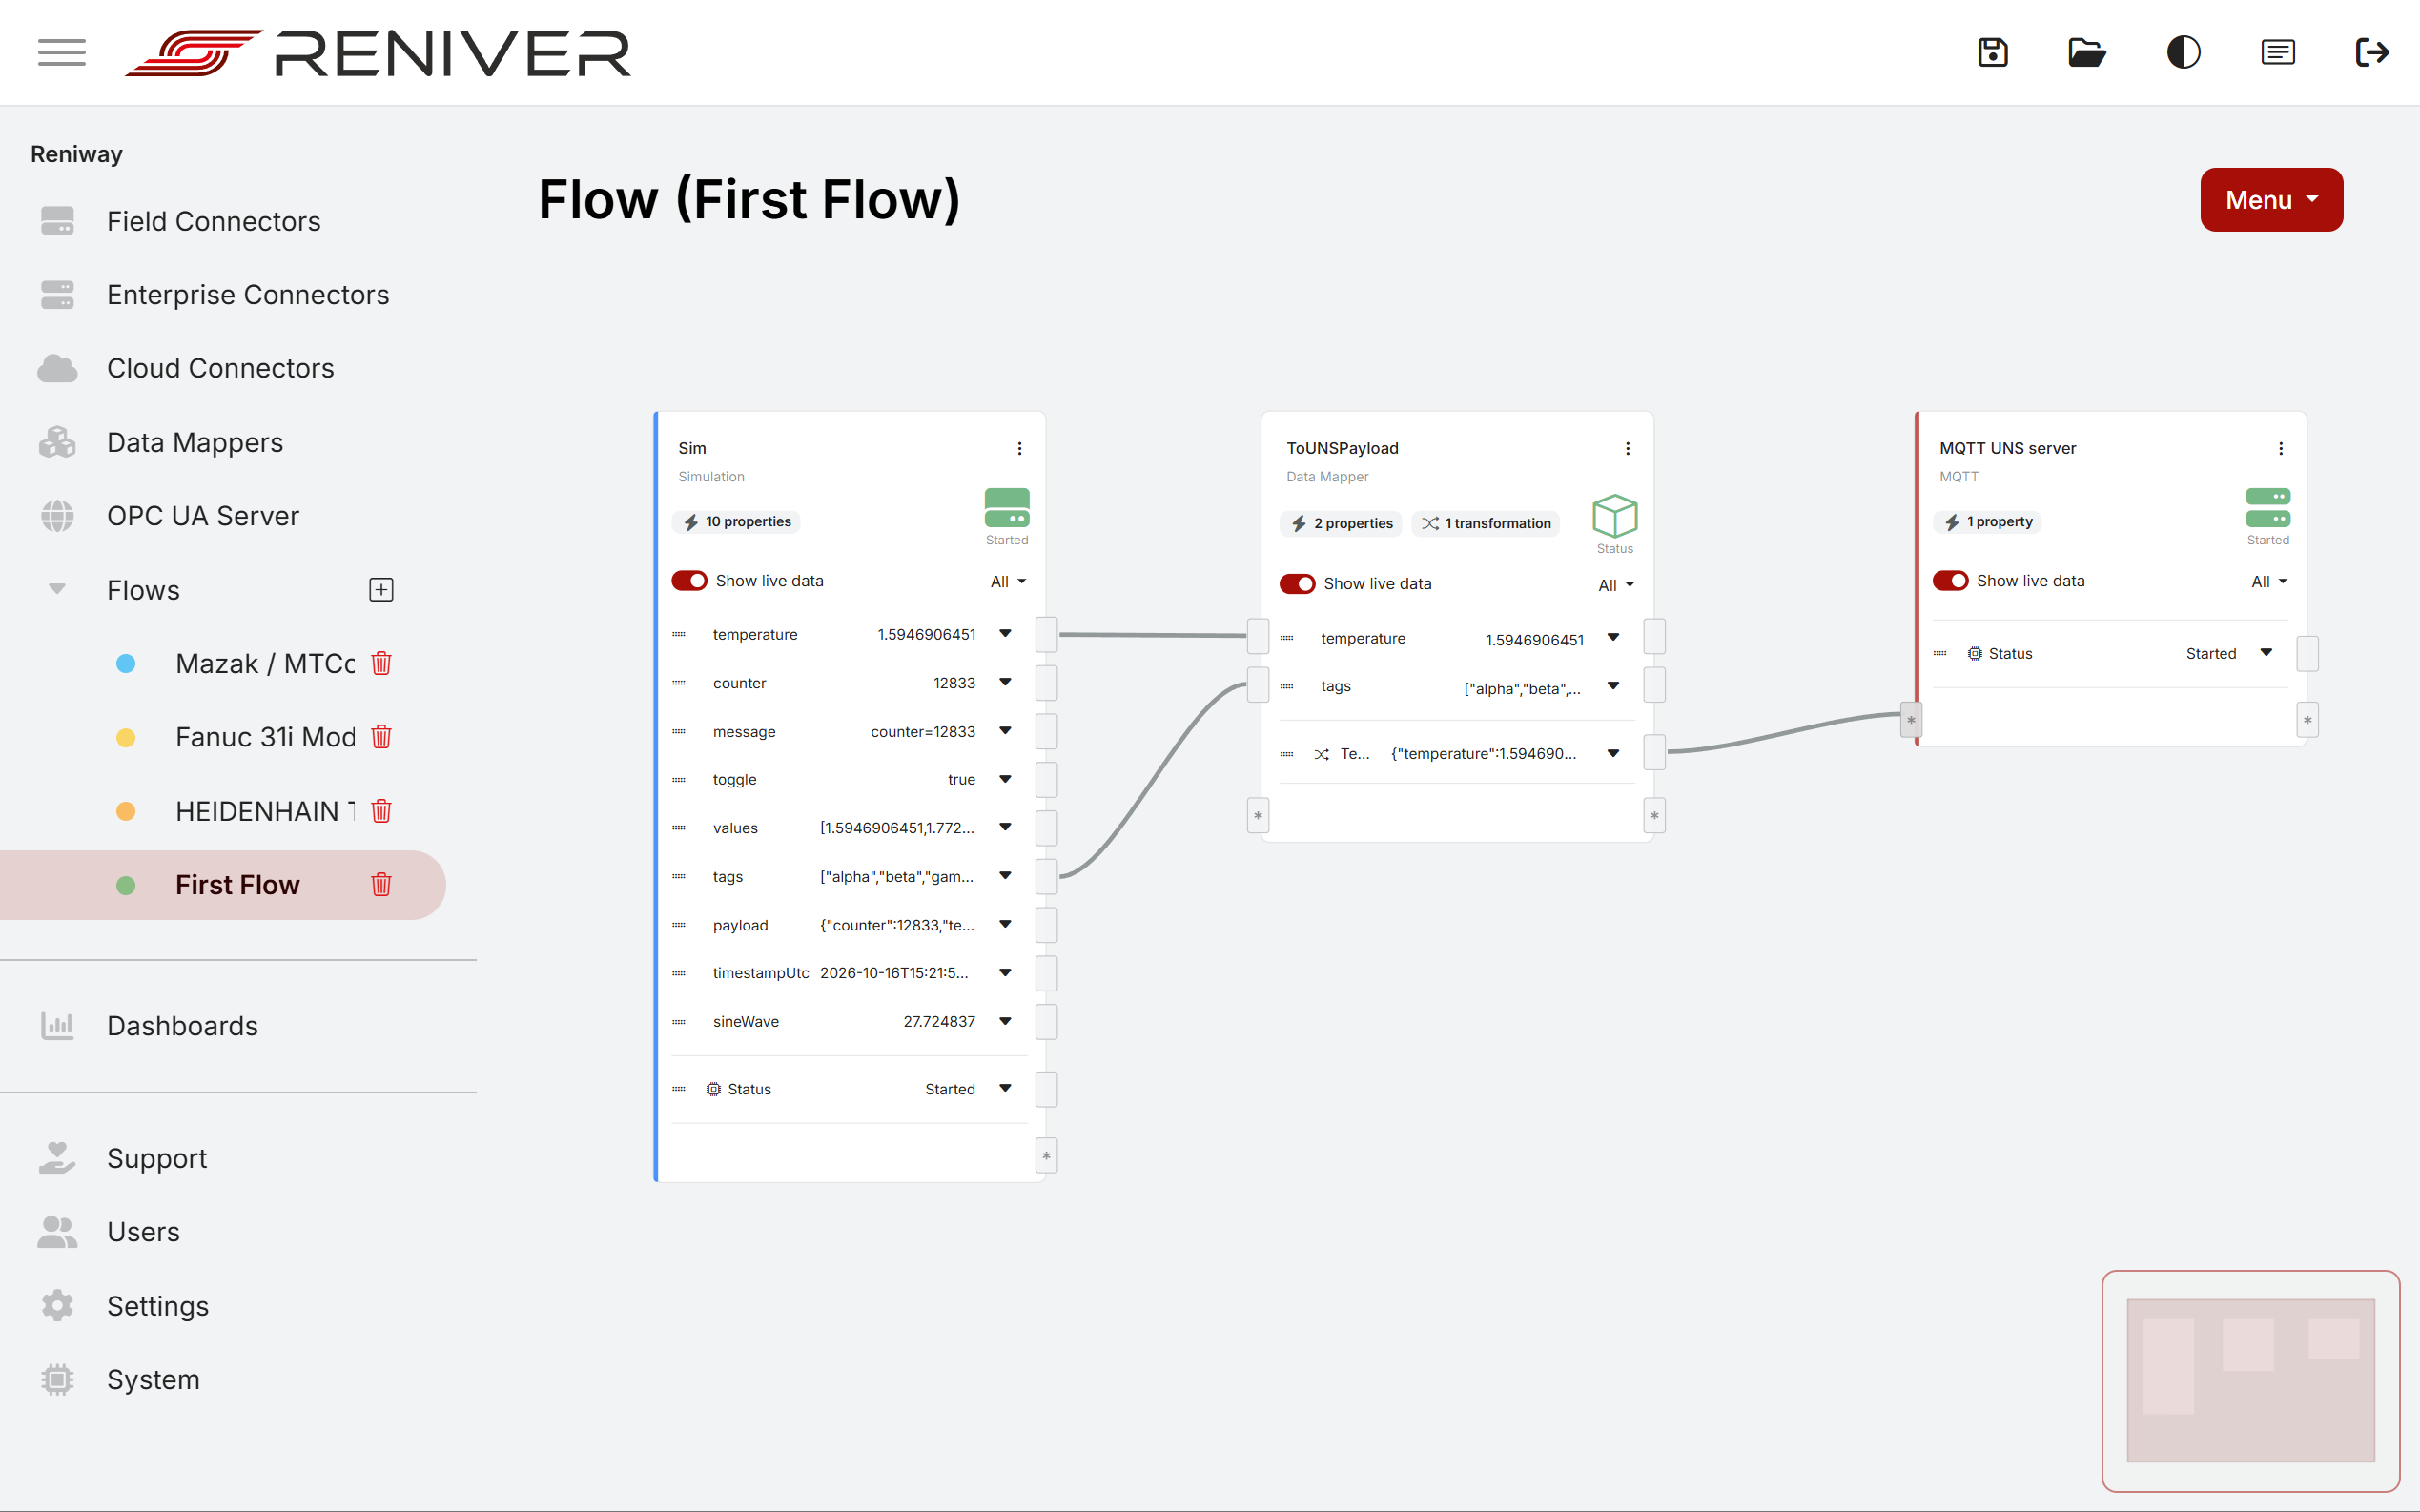
In the Add property dialog, set:
- Direction:
Write - Type:
JSON - Topic: your UNS path, e.g.
acme/us-site/chilling-dep/1/cooling/1/temperature
Click Submit.
Result
The payload now flows from the simulator, through the data mapper, to the MQTT broker. With Show live data on, you can follow the value through every block.
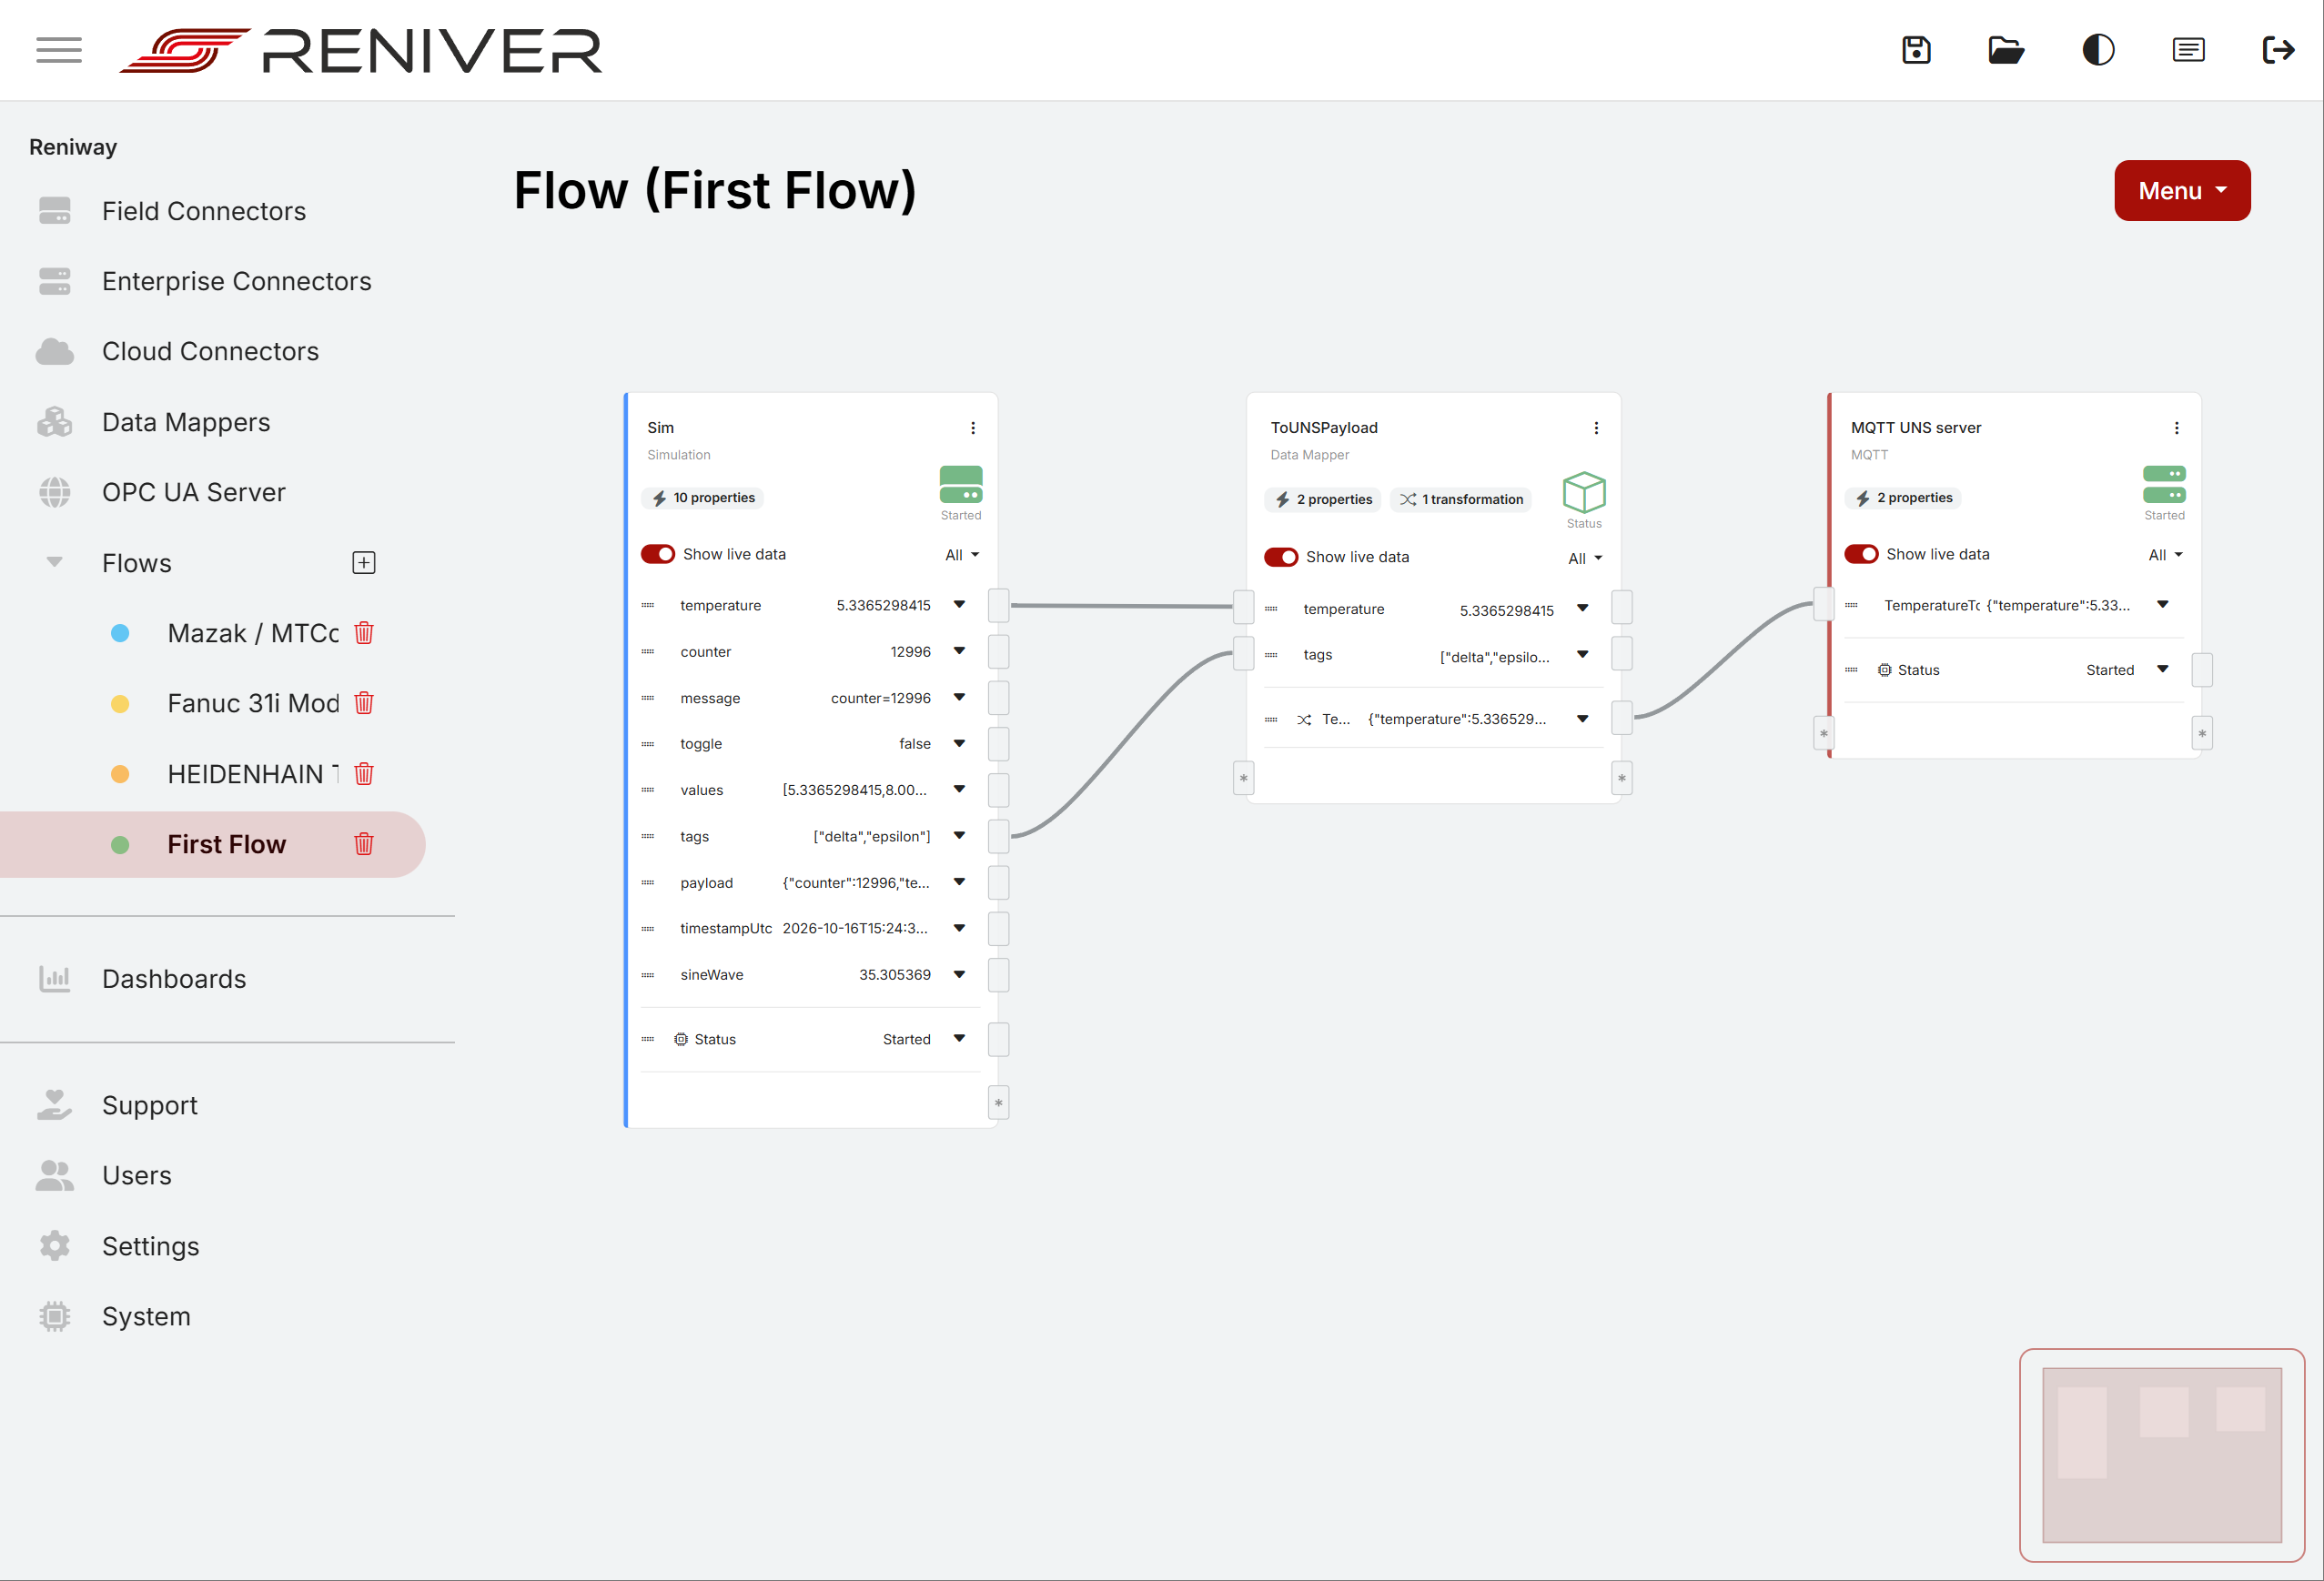
Use the save icon in the header to download a backup of your project (Saving and restoring your project). If something doesn't arrive, check the Logs.
Next steps: connect a real machine via a field connector, or read more about Flows and MQTT.